
“This page simply shares how I set up my Sony A7R VI for underwater photography. Much of this advice is applicable for many other Sony cameras, particularly the A7R V & A7 V.”
This page answers the question of how I set up my Sony A7R VI for underwater photography. Much of this advice will be widely applicable for many other Sony cameras, particularly the Sony A7R V and A7 V. If you plan to follow it, I’d recommend first reading the whole page first, to understand what I am trying to achieve, before going through and applying these changes to your camera.
If you don’t know me, I’ve been taking underwater photos for over 40 years and this experience shaped this setup. Experience also teaches you that redundancy is always valuable underwater and I purposely duplicate certain important controls so I can always adjust them quickly underwater. I am a still photographer and my setup does not consider video. Also I use a Nauticam housing for my camera, and some of the choices are based around ease of access to particular controls through the ergonomics of that housing. I specialise in a very wide variety of types of underwater photography, in both warm water and cold, and this setup is designed with that in mind.
Finally, I am first publishing these notes in June 2026, shortly after the camera started shipping. Once I have shot the camera more extensively I will record a video talking through these choices in more detail (which I’ll add here) and may tweak some of the advice on this page.
Below is a list of my generic settings for underwater shooting. Of course, I often deviate away from many of these, and set the controls I most regularly need to do so on custom buttons, in the Function Menu and in My Menu for easy access. Furthermore, the A7R VI also allows us to remember and change settings using specific Shooting Modes, which I also use for optimising the camera for different types of underwater shooting (which I also cover at the bottom of the page).
GENERAL SETTINGS
I only shoot RAW underwater. I shoot RAW, lossless compressed, in Adobe 1998 colour space. I mostly shoot with the EVF (viewfinder) and have VF Display Quality on High, standard frame rate. I would always prioritise quality of the EVF over battery life. I set the camera to Airplane Mode and to Power Save after 1 minute. Sony cameras are slow to wake up, but experienced Sony shooters soon learn to “wake-up” tap the shutter when approaching subjects.
I typically use Single Shooting in the Drive Mode and have Auto Review on 2 seconds. When shooting with flash underwater (a light that you cannot see while you compose) I believe it is invaluable to constantly check the lighting in my images, which is why I have Auto Review on as a default. Also because most underwater photos are taken with flash, I have Settings Effect set to Off (to give me the best view of my composition through the viewfinder). However, when shooting available light images, I reverse these, turning Settings Effect On and Auto Review Off (as most would use the camera on land, so that I can see my exposure before shooting, and therefore have no need to review). When shooting action or blackwater, making use of Continuous Shooting in the Drive Mode, I also turn Auto Review Off, so I am not interrupted during the encounter.
AUTOFOCUS
I use Continuous AF autofocus mode (because neither my subject nor I will ever be completely still in the ocean) and mostly use AF With Shutter set to On. There are many occasions where I change AF With Shutter to Off and shoot with “back-button” focus, using the AF-On lever, such as when shooting certain images (split levels, pelagic action) or at times when AF is struggling (inside a dark wreck, shooting up the reef into the sun). I use Wide AF most commonly for wide angle (because it just works with point and shoot simplicity) and also less commonly Zone and Expand Spot Tracking. For macro shooting I most commonly use Tracking Spot Small for macro (and Spot Small/X-Small for precise focus on non-moving subjects, and often use Wide or Zone for fish portraits in conjunction with Subject Recognition). I normally use Subject Recognition for macro, but rarely for wide angle. I also have two custom AF shapes for certain shots – basically a horizontal line and a vertical line of active sensors – which can be very useful for certain shots, like splits, subjects in sea bed etc.
I personally don’t use focus gears and DMF, although I know some love it. I use peaking with MF vintage lenses (I only use a Trioplan 100mm, currently) but find it doesn’t work well with my wide angle MF Nikonos 15mm, and instead prefer the archaic: focus, shoot, review – zoom in, re-focus when necessary.
JUMP SETTINGS
My jump settings for wide angle (blue water, sunny day) are ISO 400, f/13, 1/125th, and macro are ISO 100, f/6.3, 1/250th. With my Sony A1 I shoot my white balance mostly on fixed K temperature tuned to my expected strobe output (usually 4800K with my Retra Pro Max 2 with warming diffusers), the A7R VI promises better Auto WB, so I will try this extensively in the hope it works or otherwise go back to a fixed K. I use UW Auto WB when shooting available light, for blackwater (where it works surprisingly well) and when shooting large scenes with just a kiss of flash or where flash will struggle to reach the subject.
LENS OPTIONS:
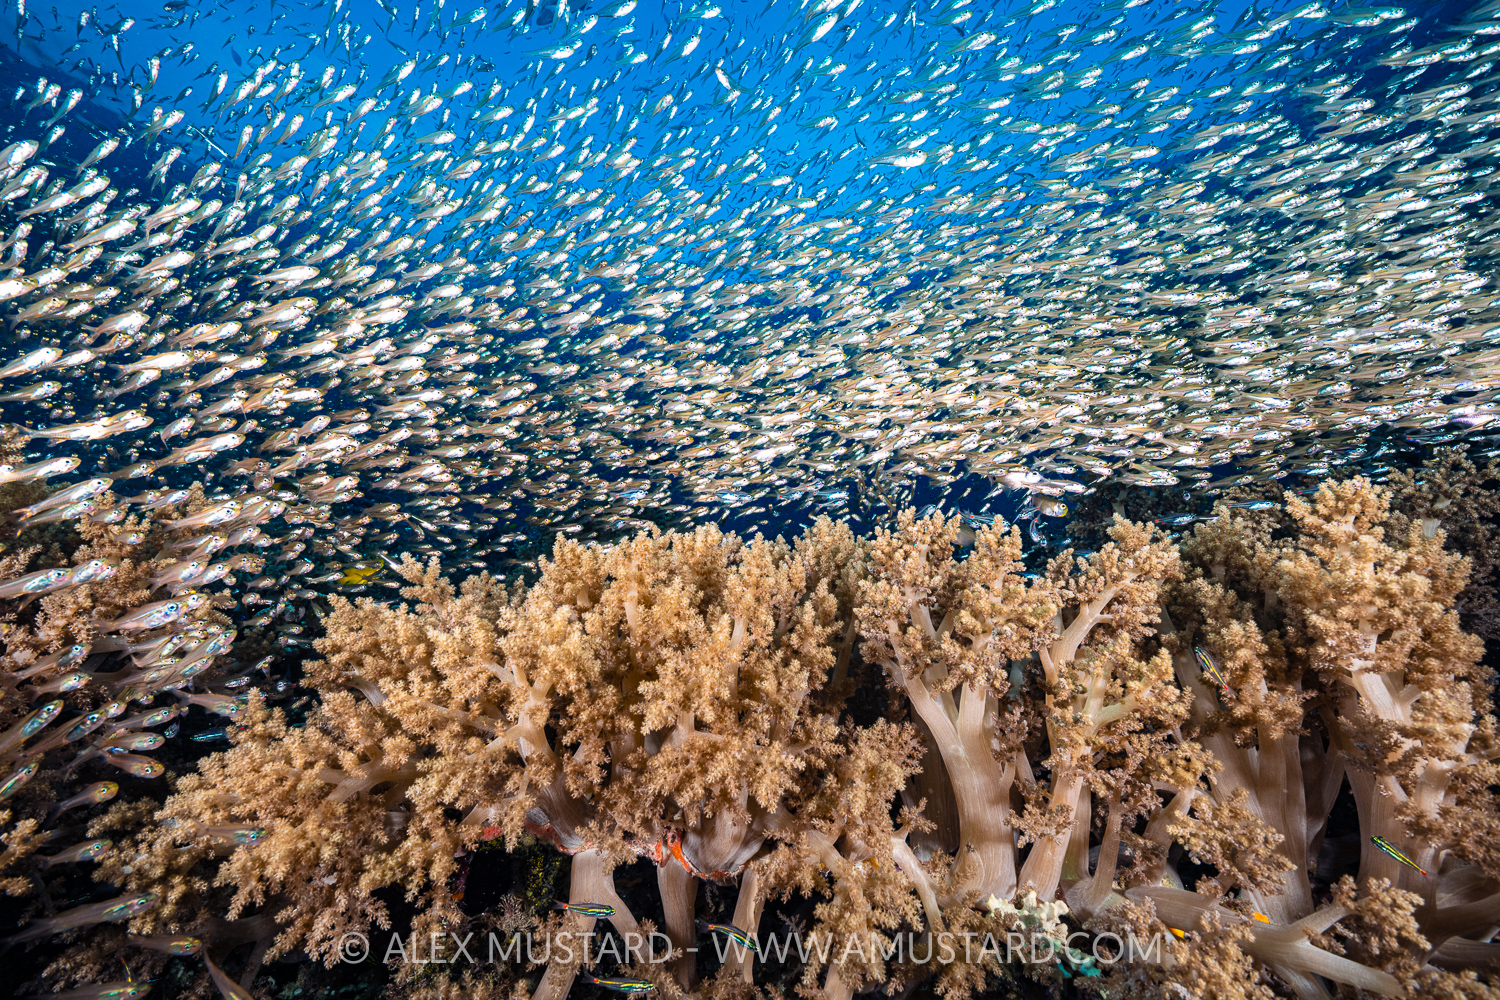
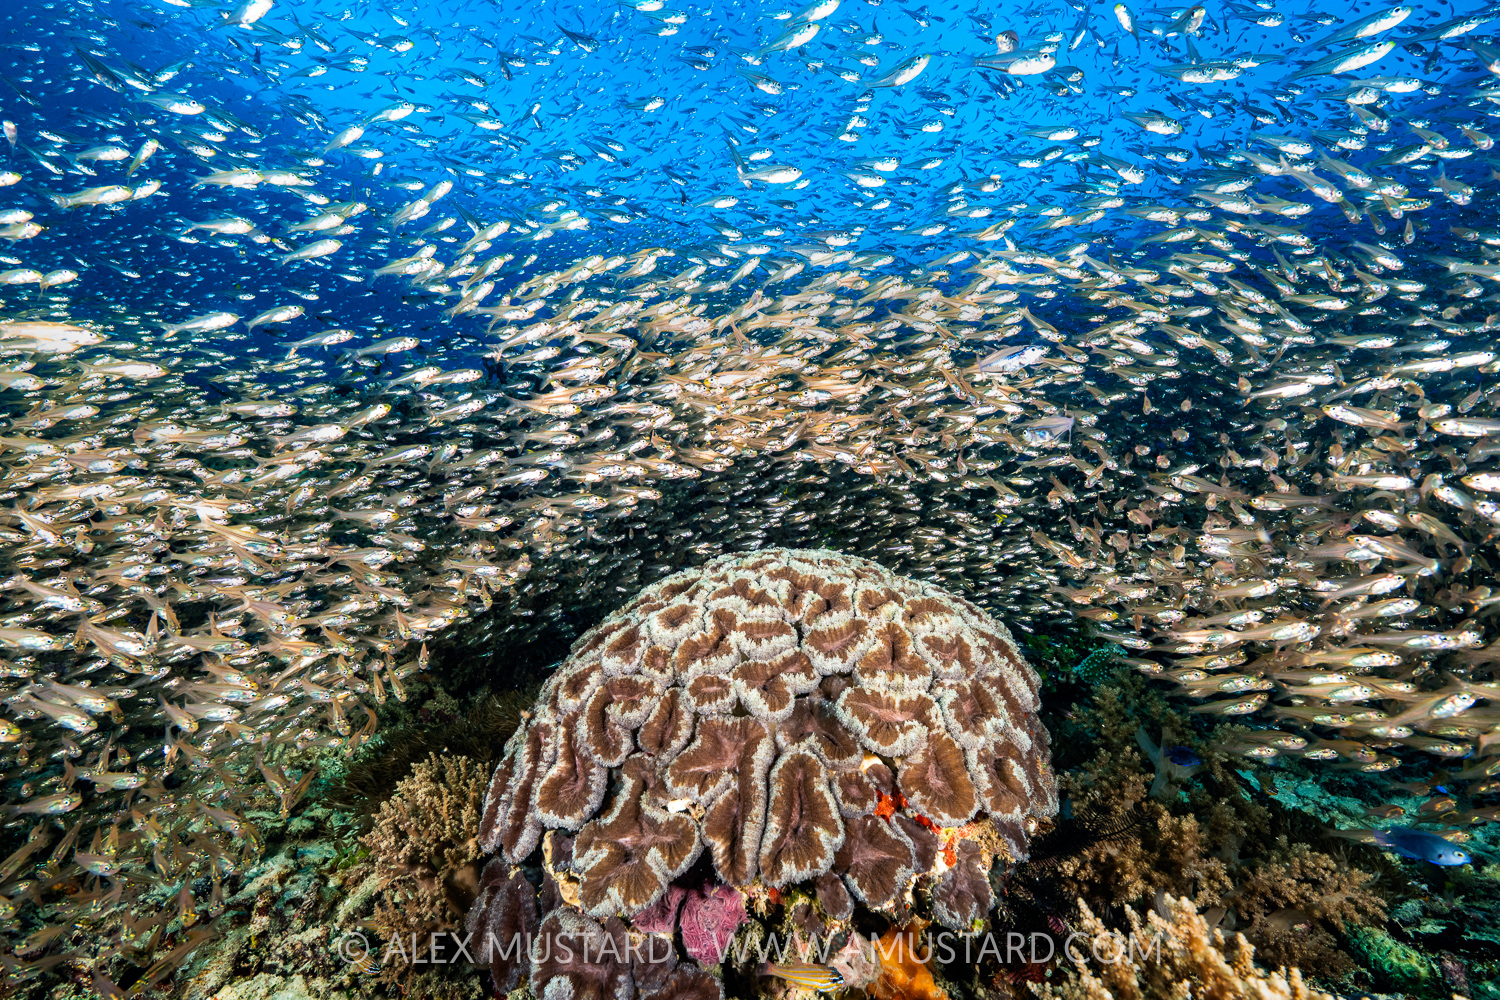
Below, gallery of sample shots with different lenses.
The Sony A7R VI top view
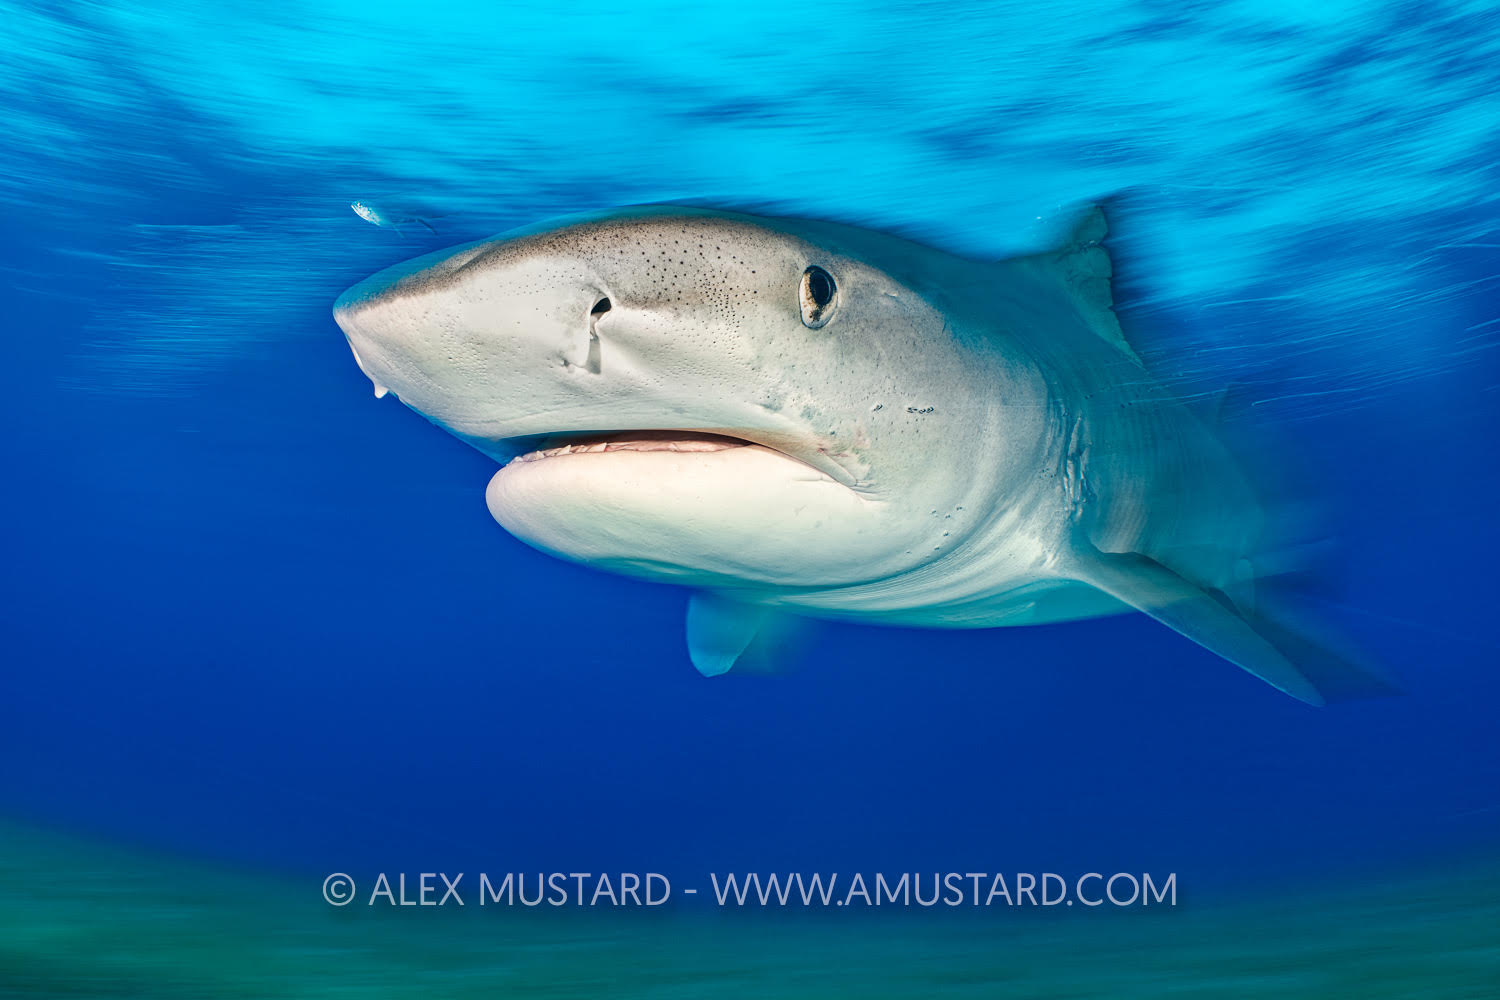
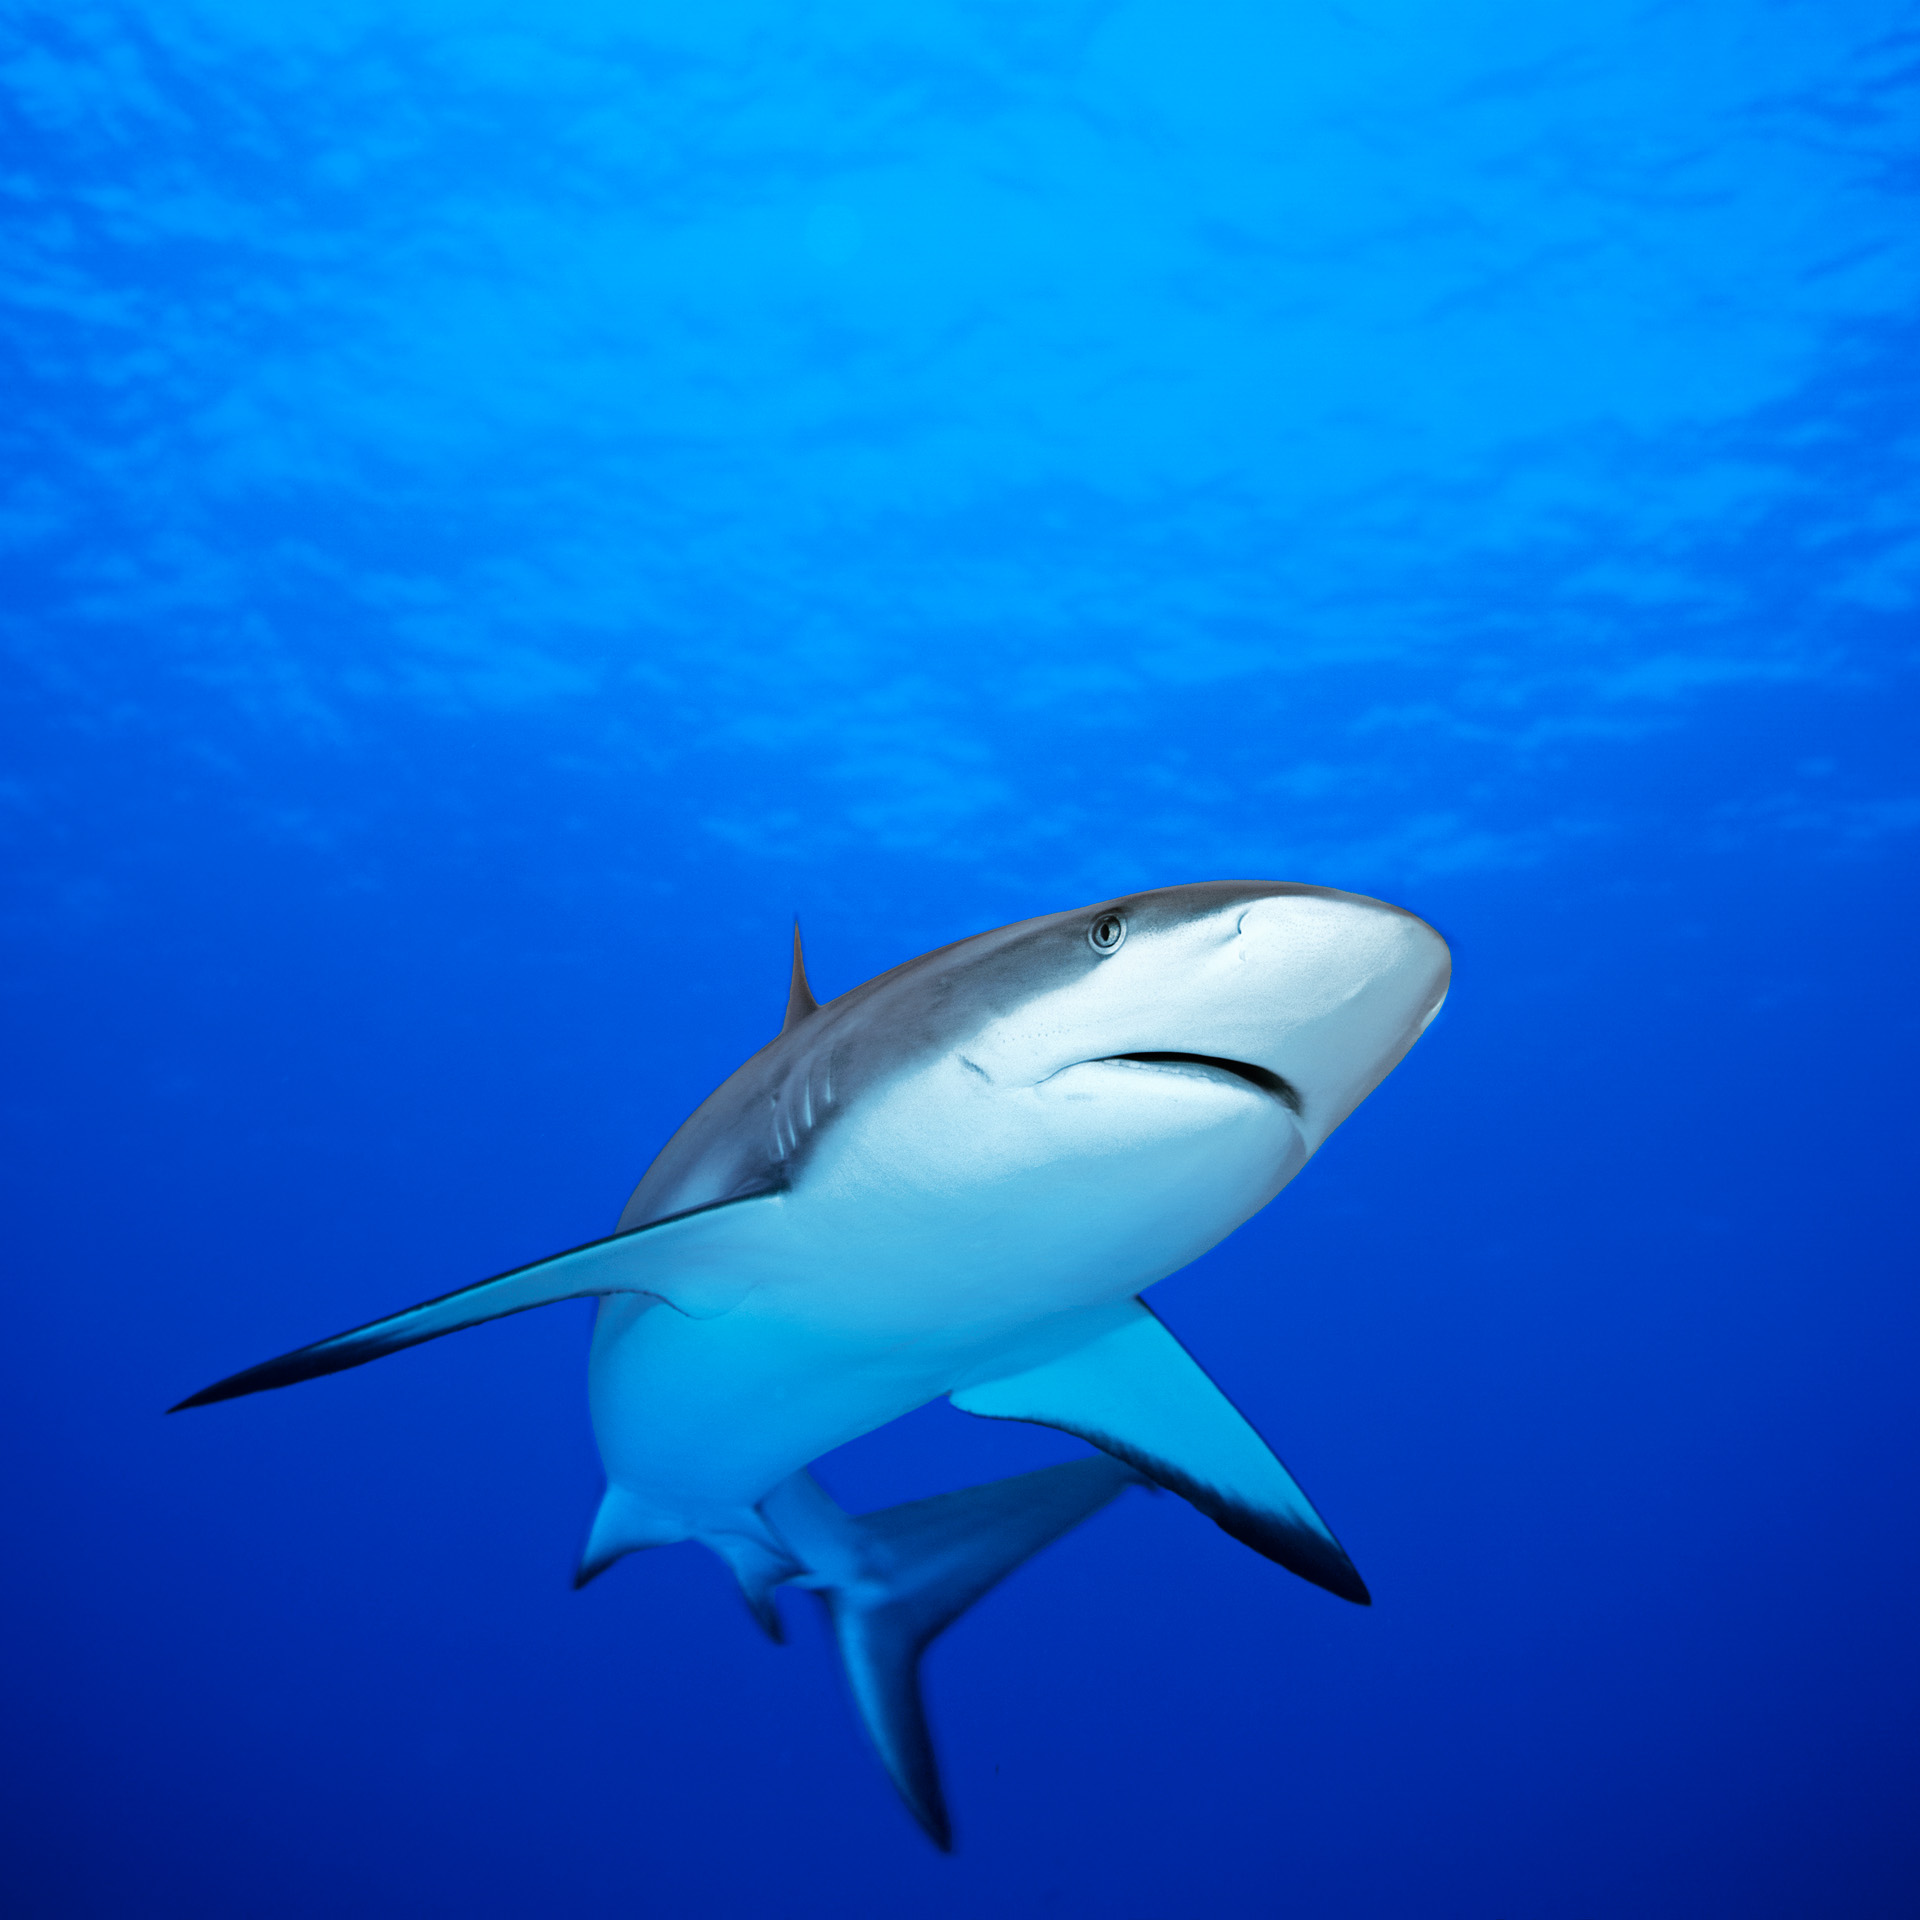
Wide area AF is point and shoot simple with wide angle.
Nauticam housing for A7R VI
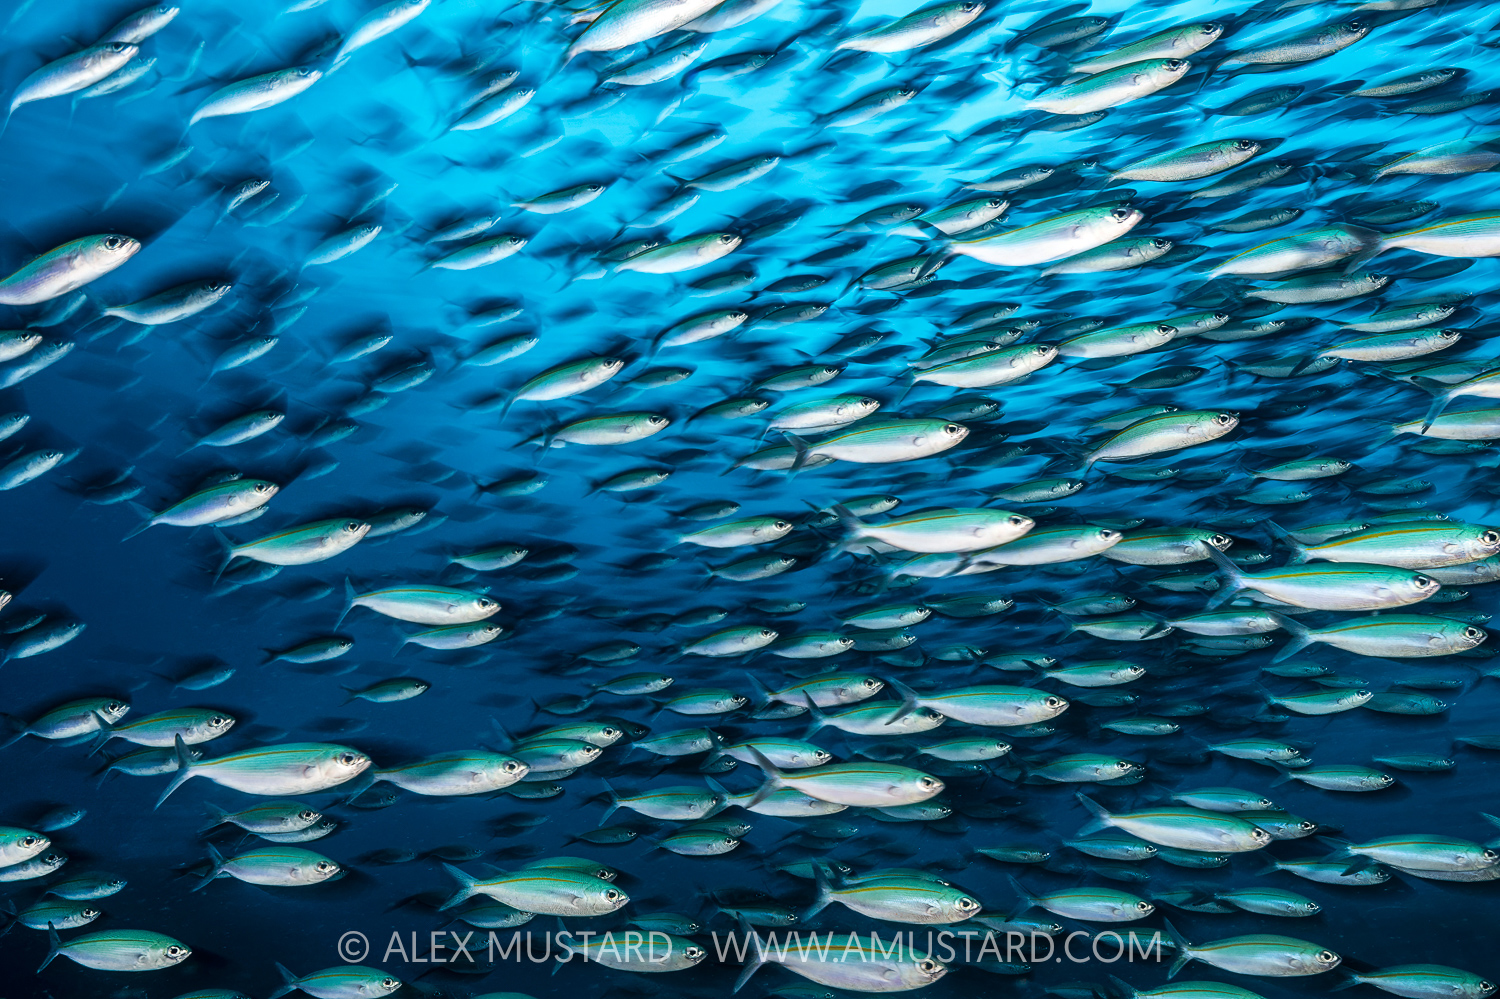
Try using UW Auto White Balance for blackwater, I find it works impressively well
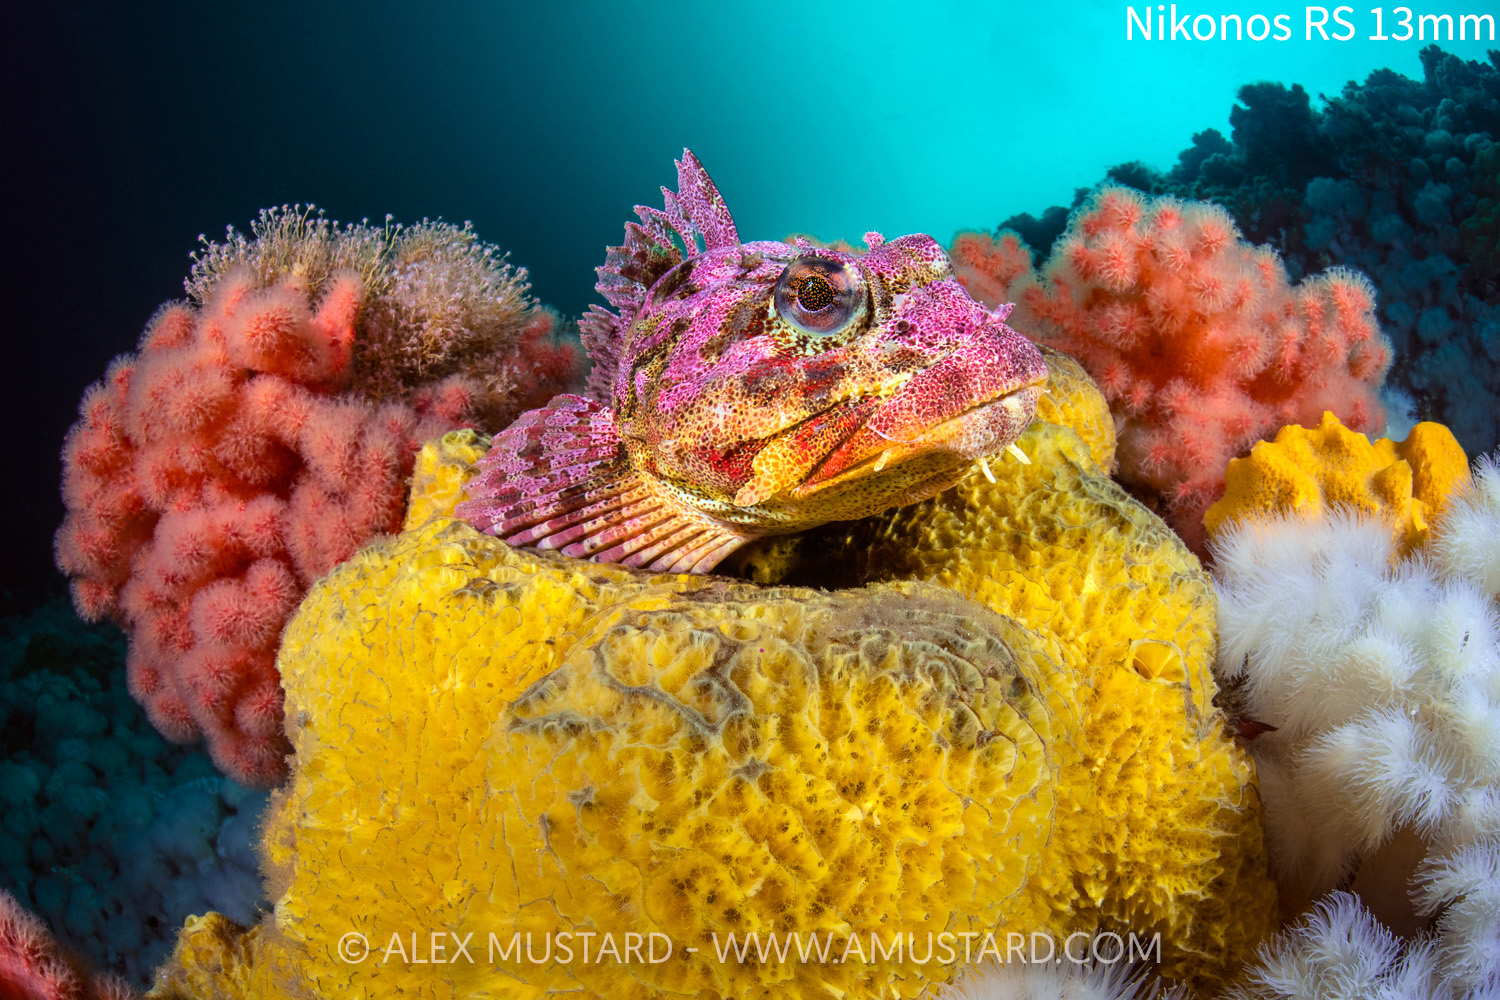
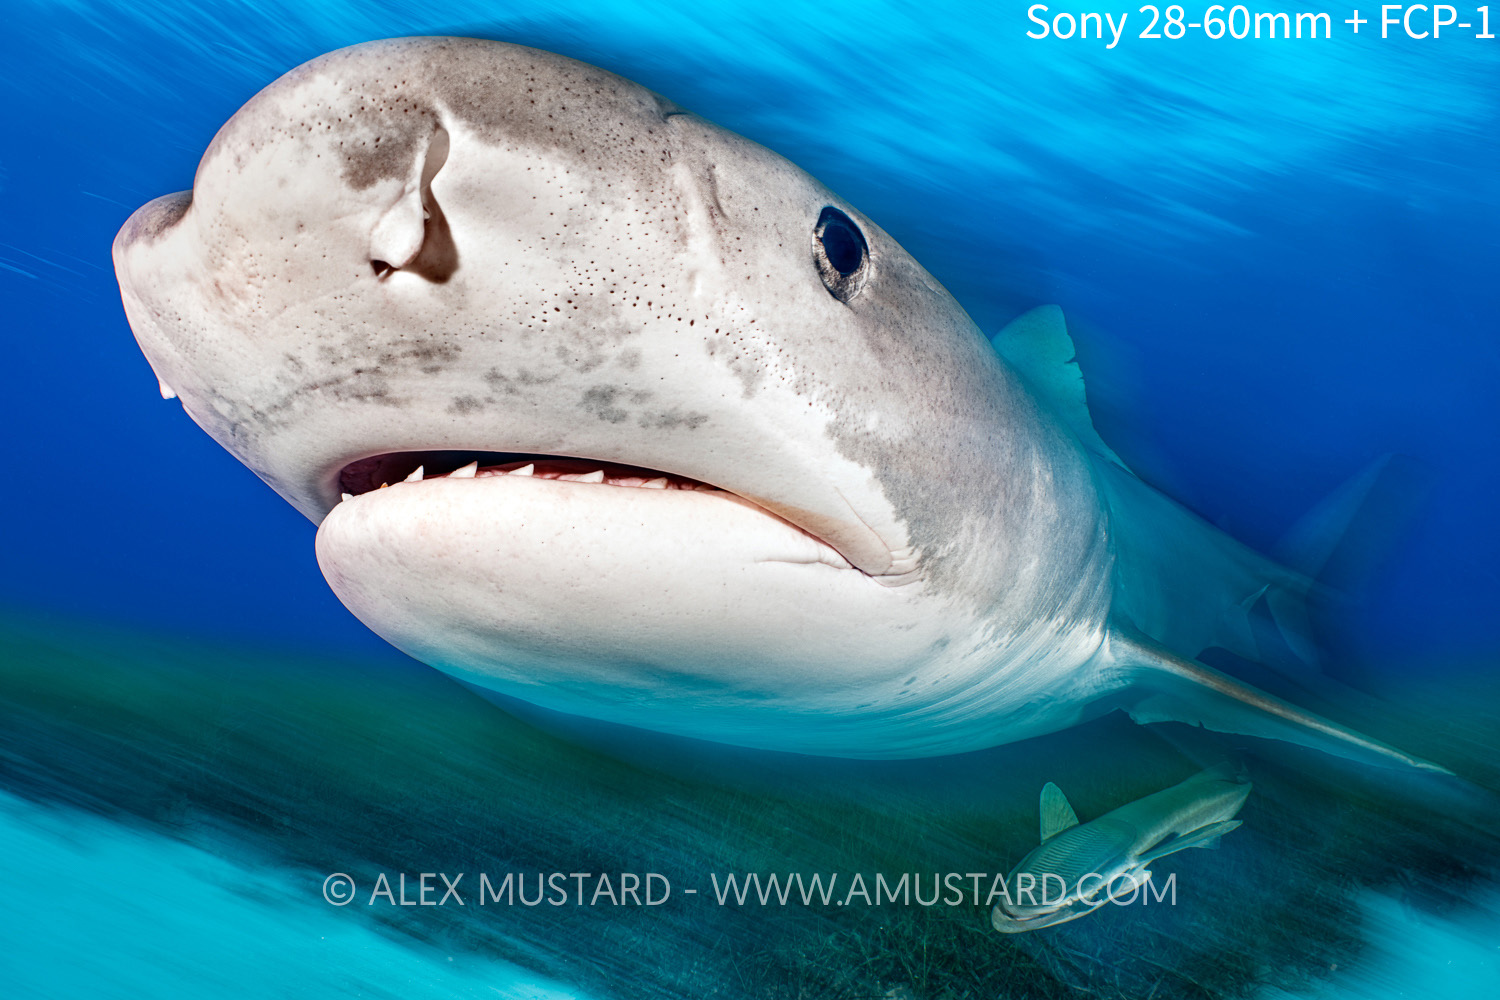
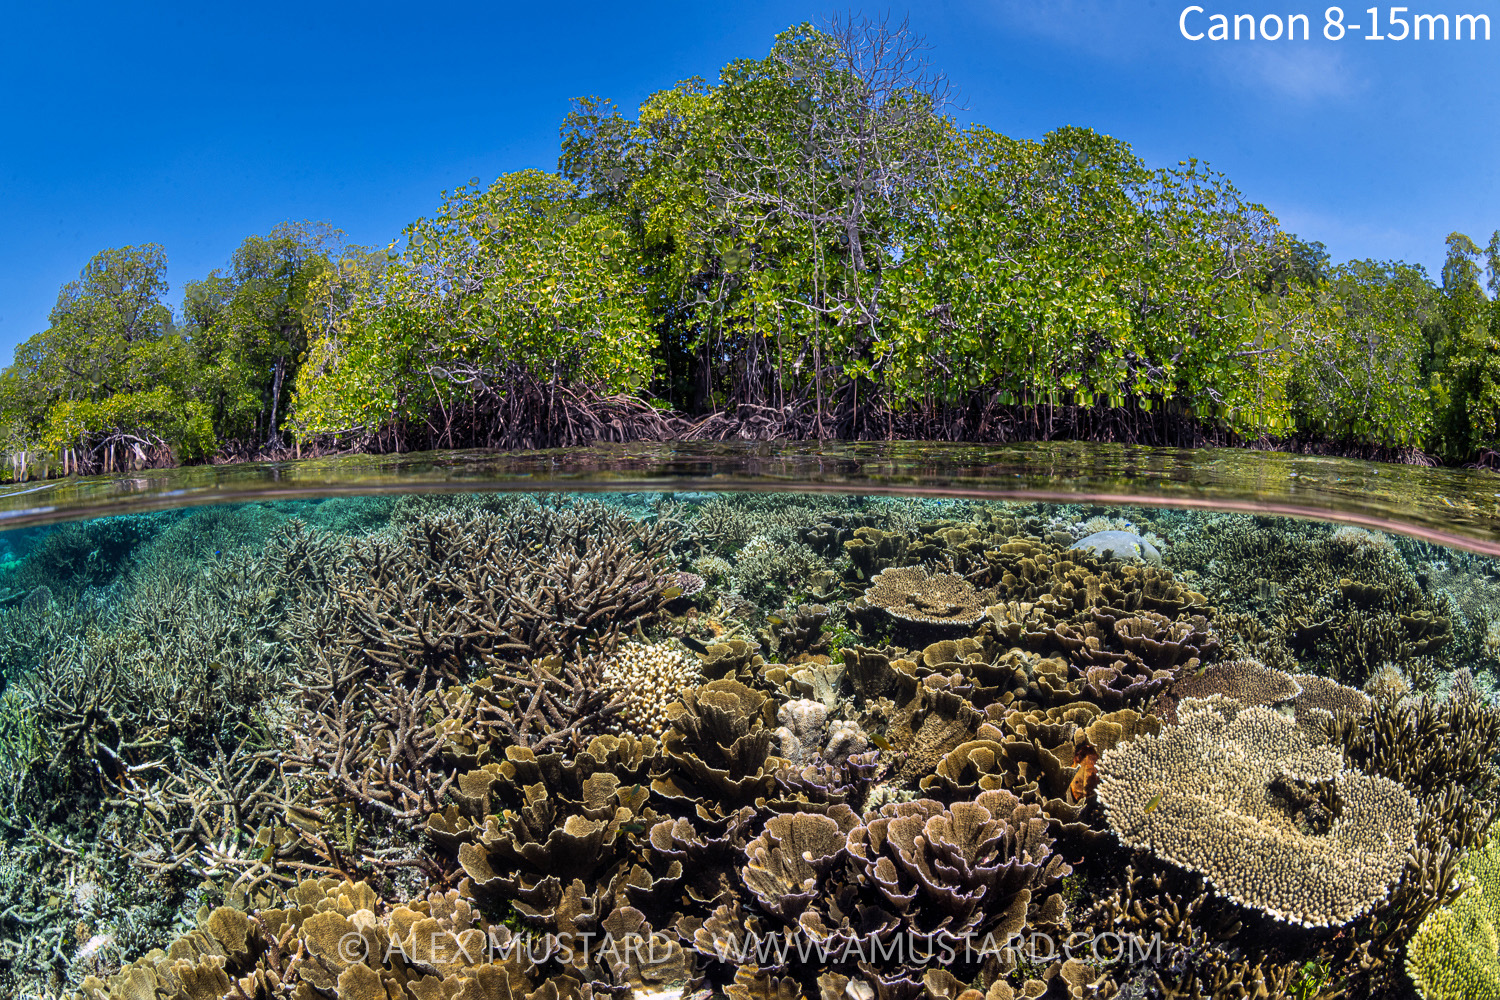
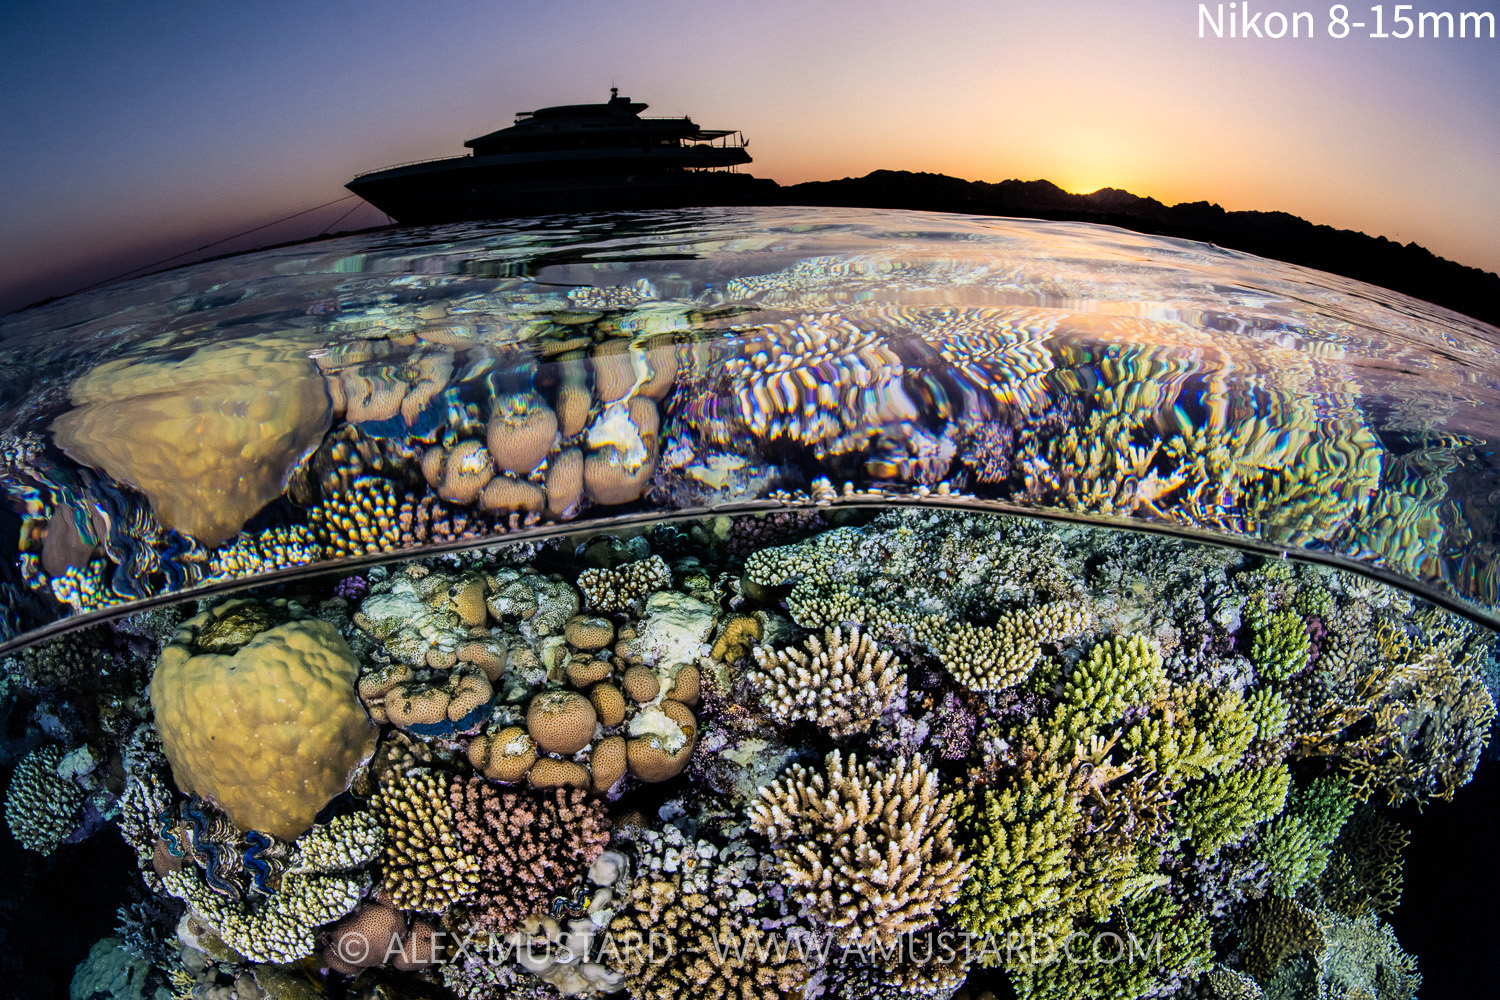
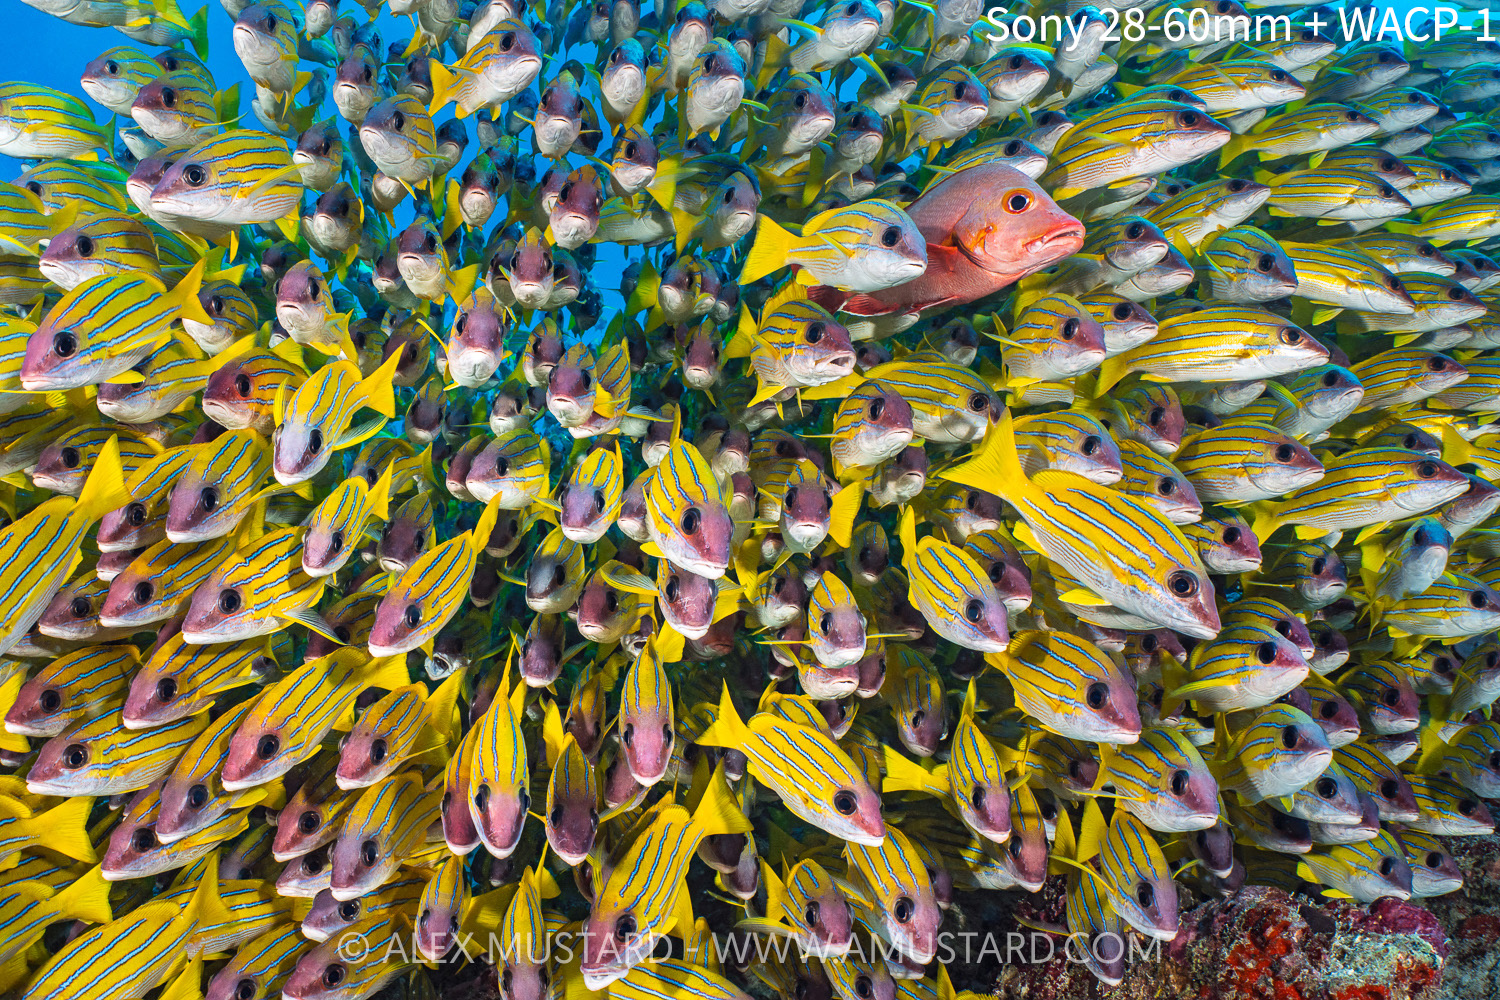
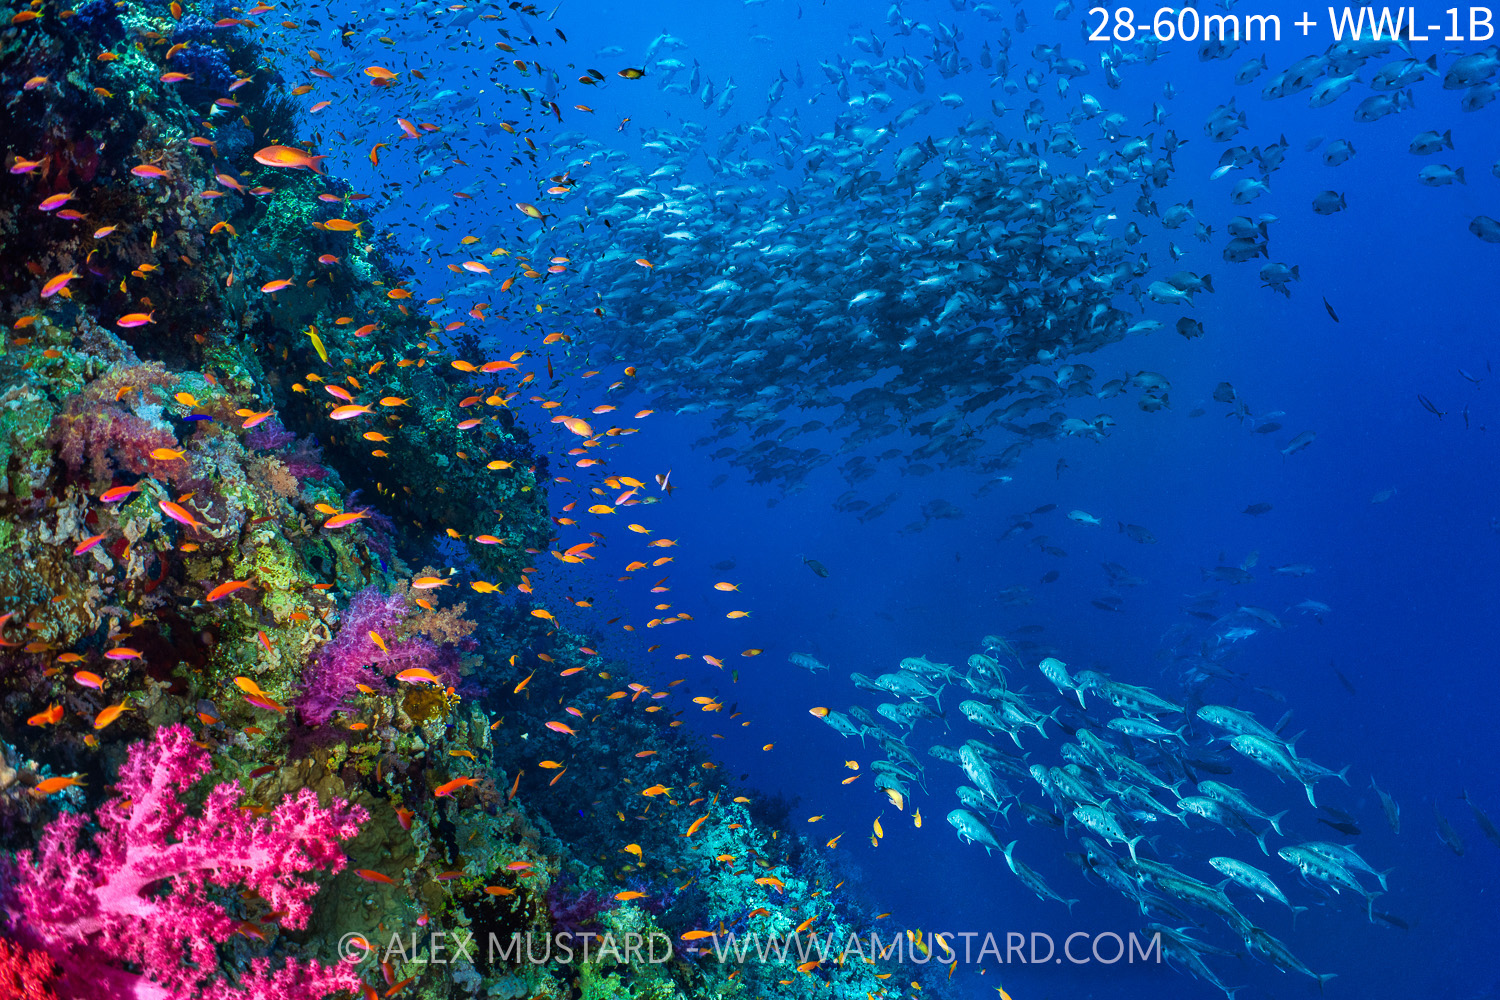
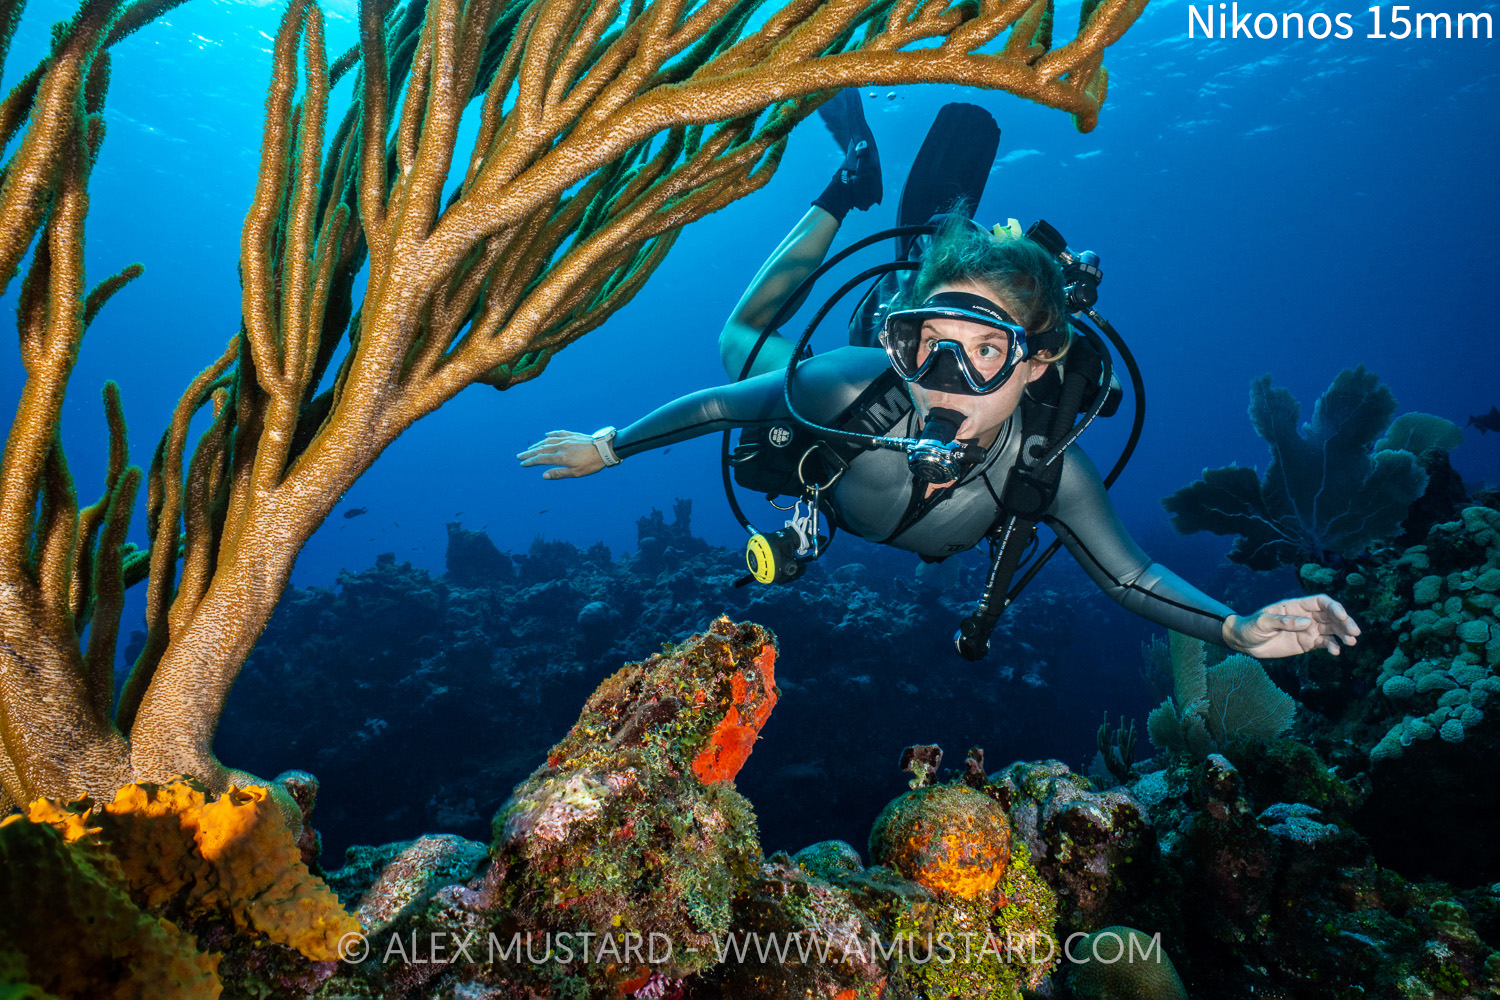
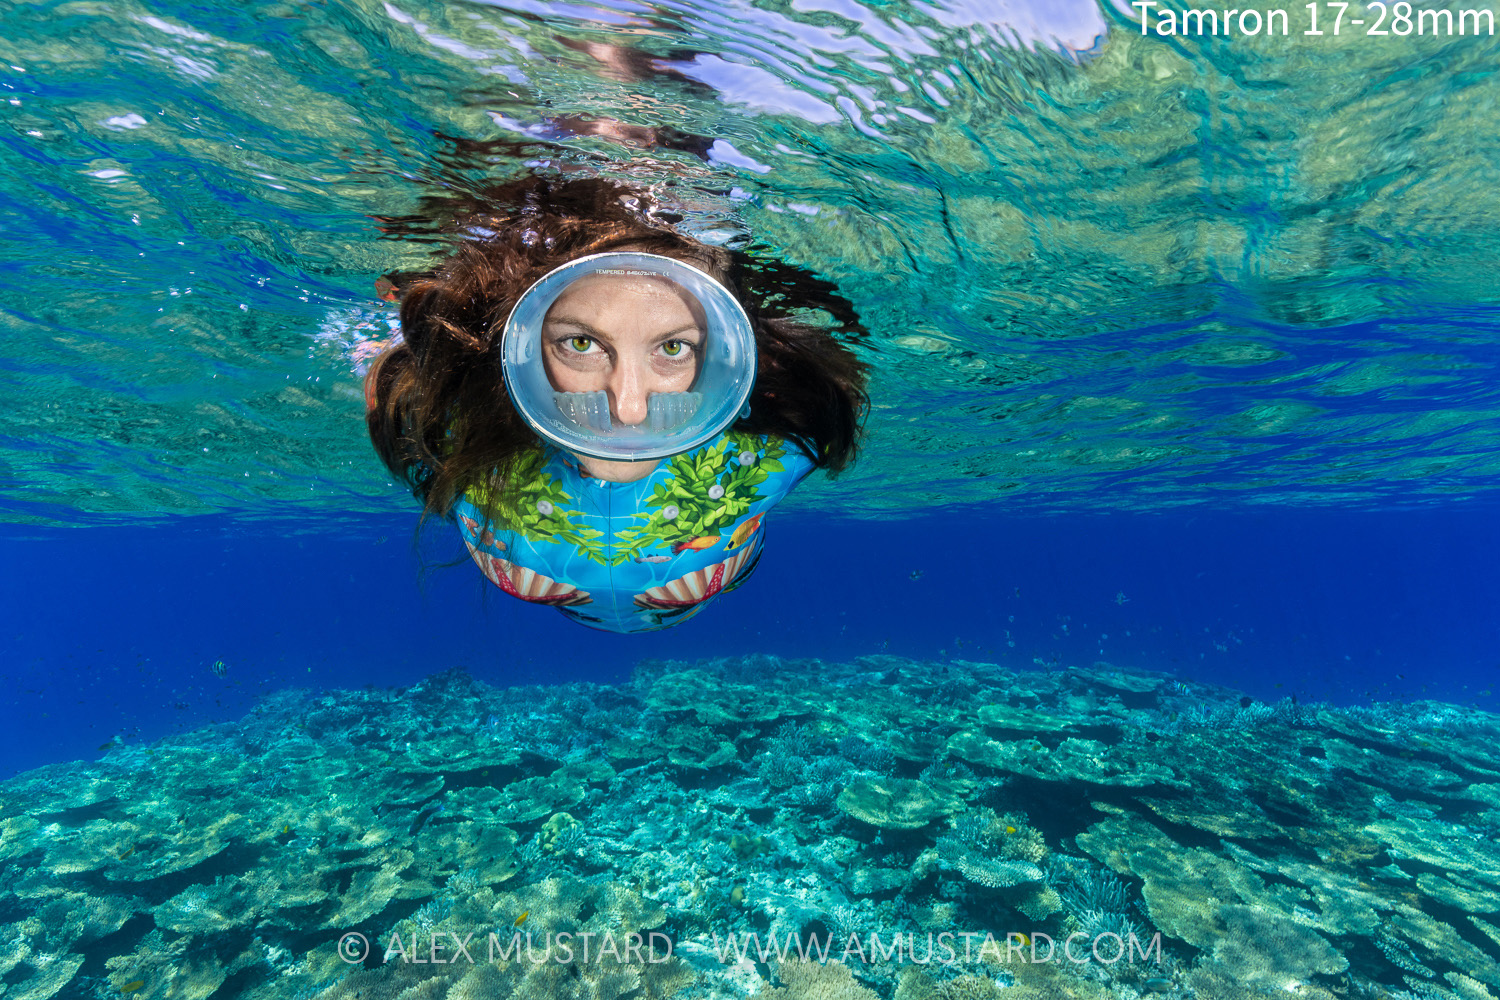
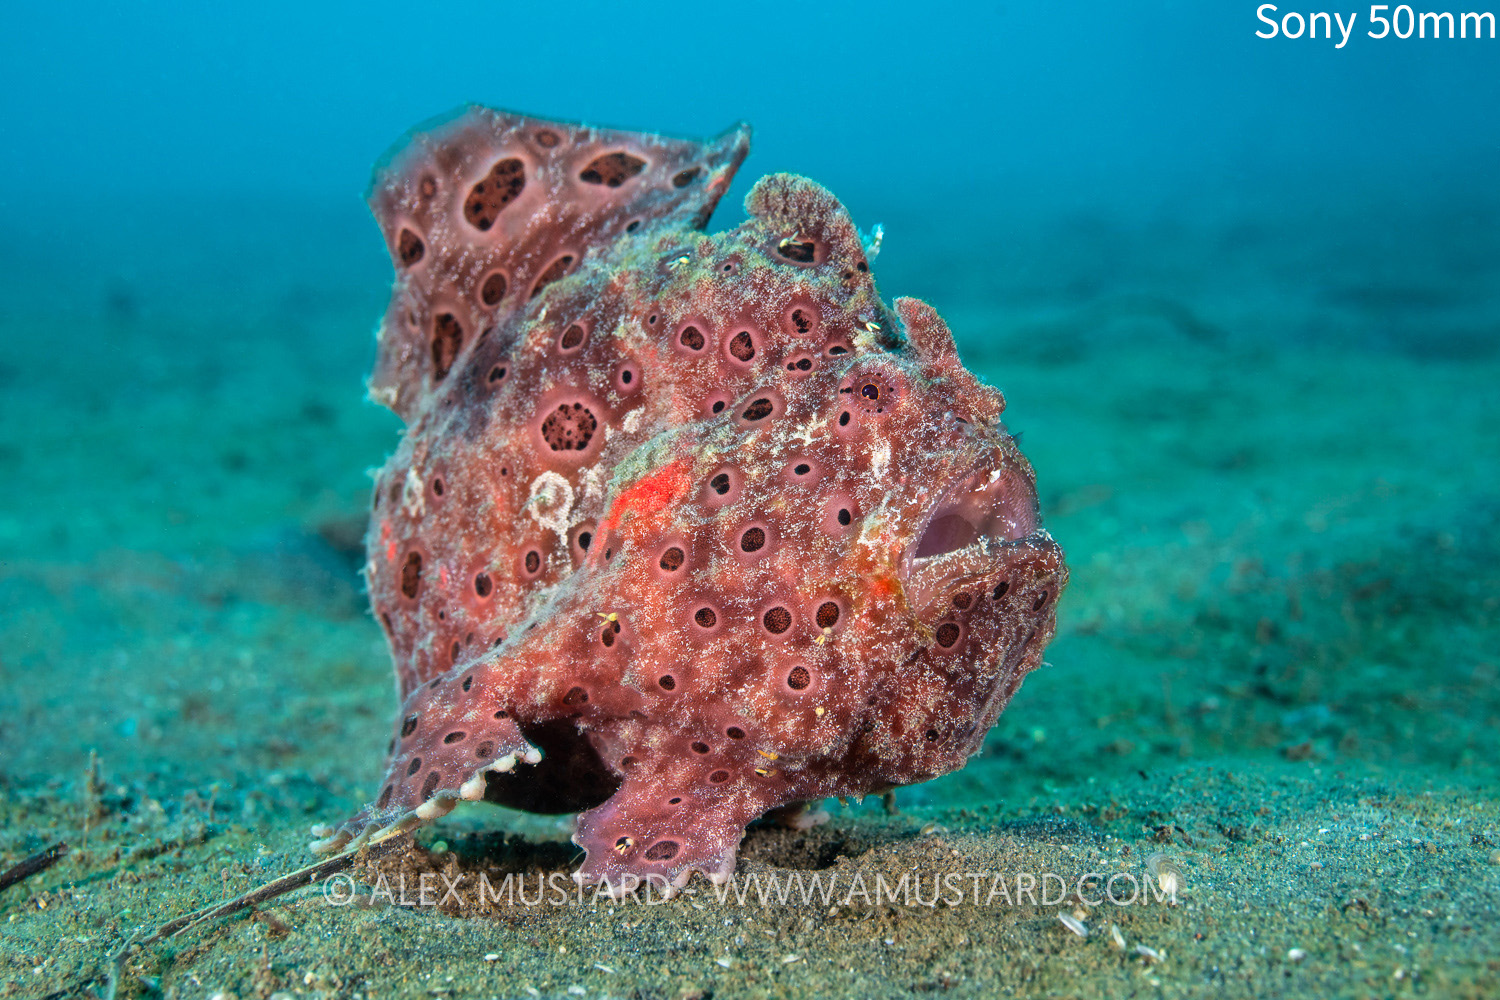
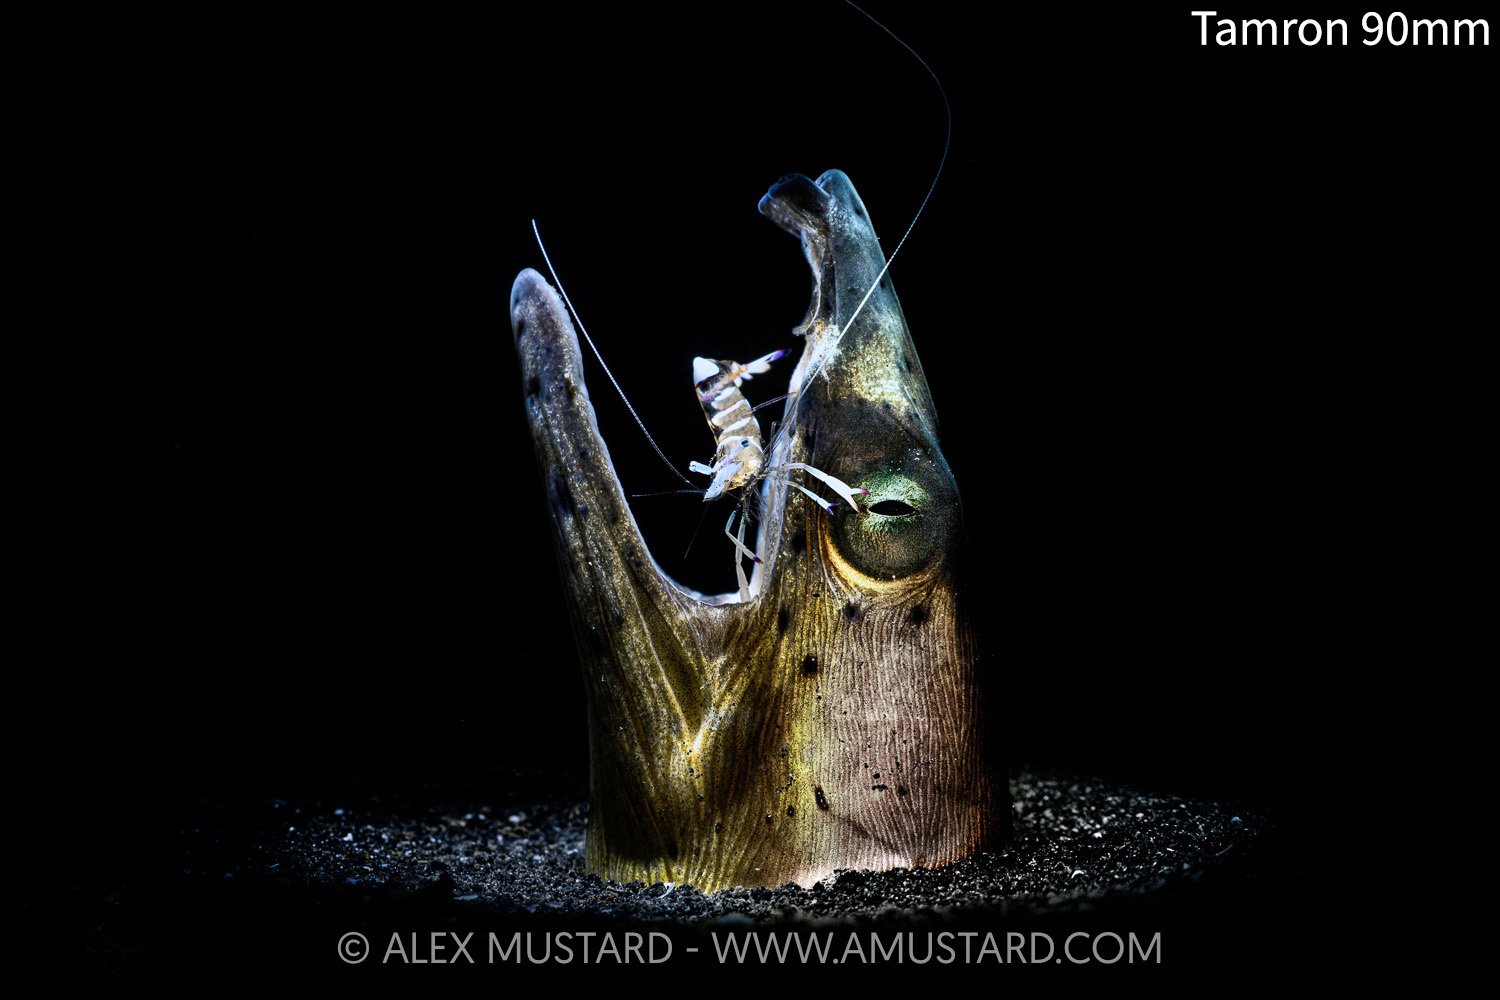
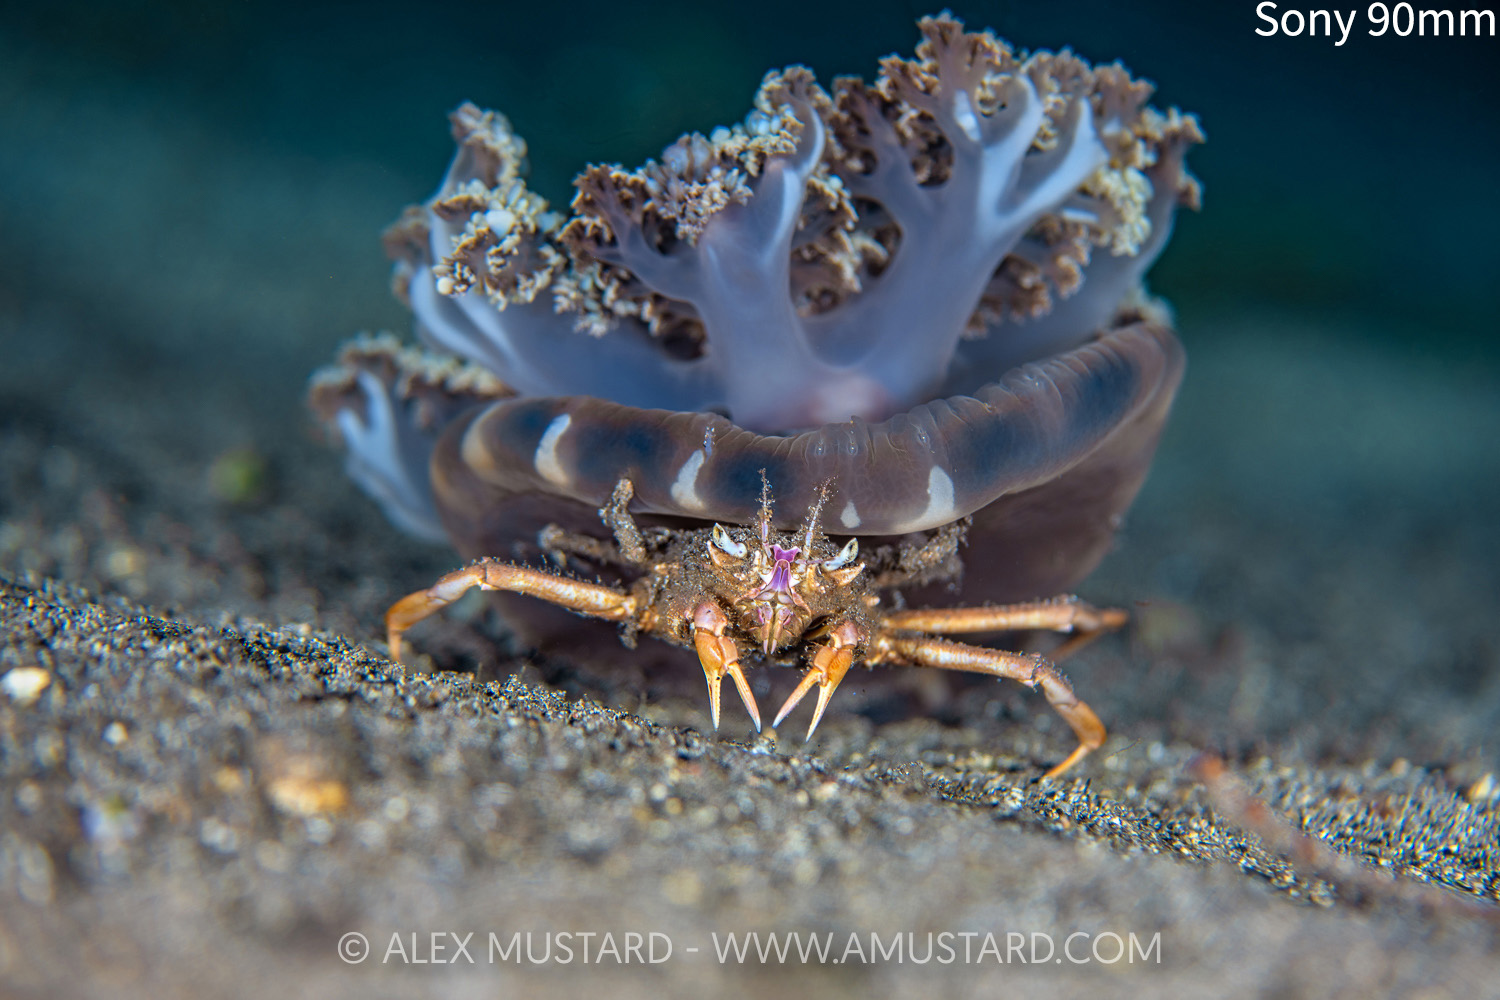
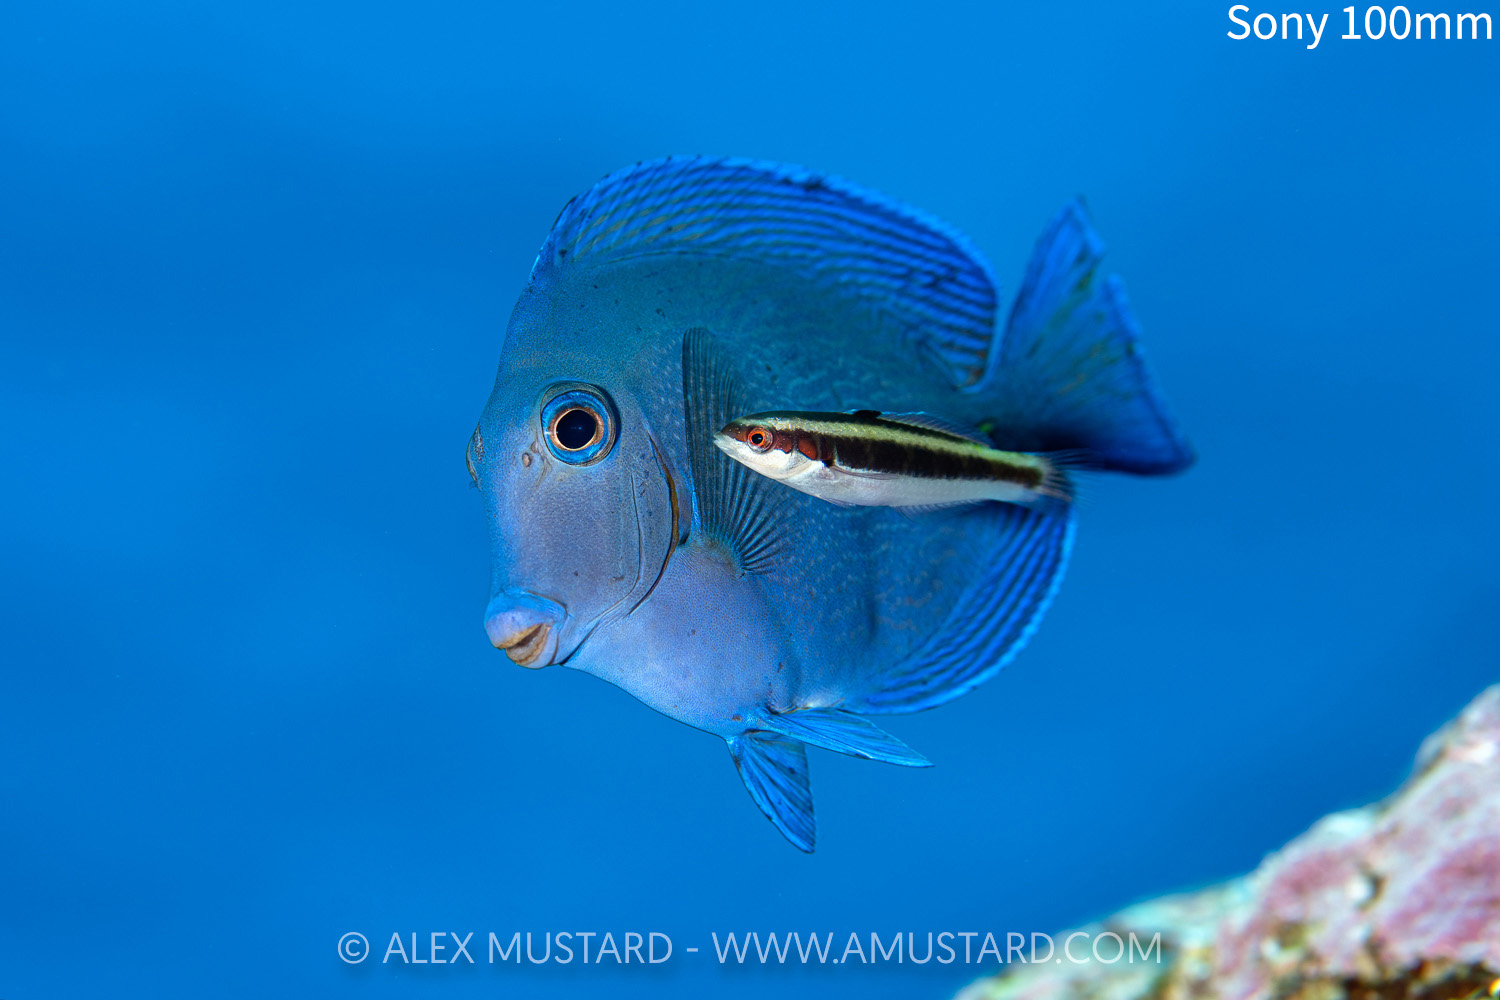
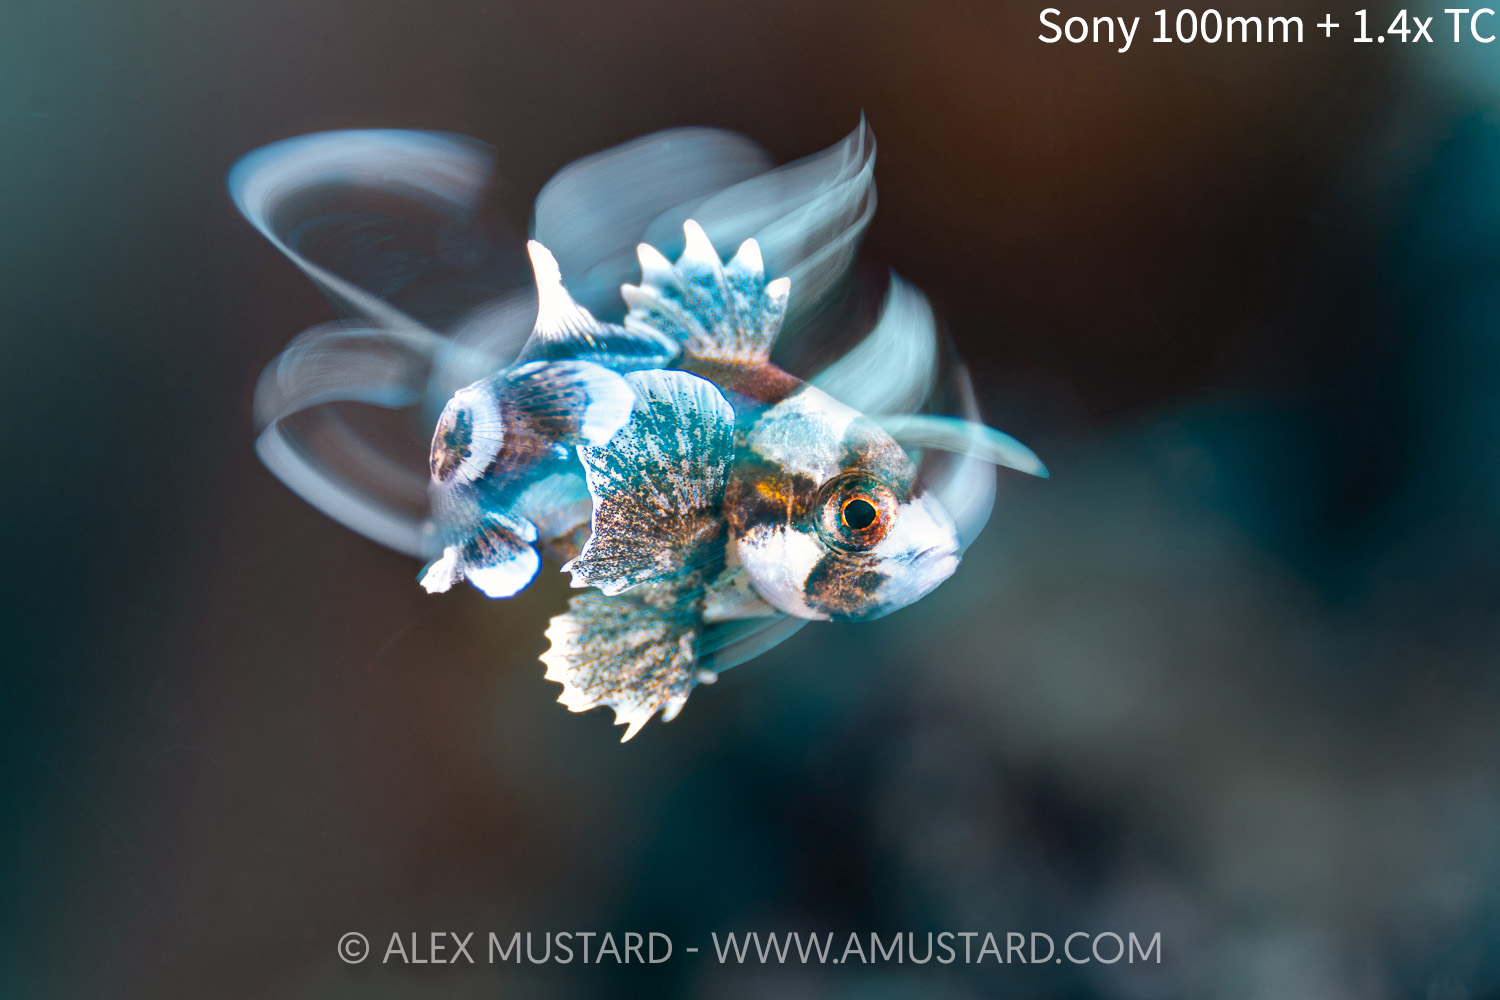
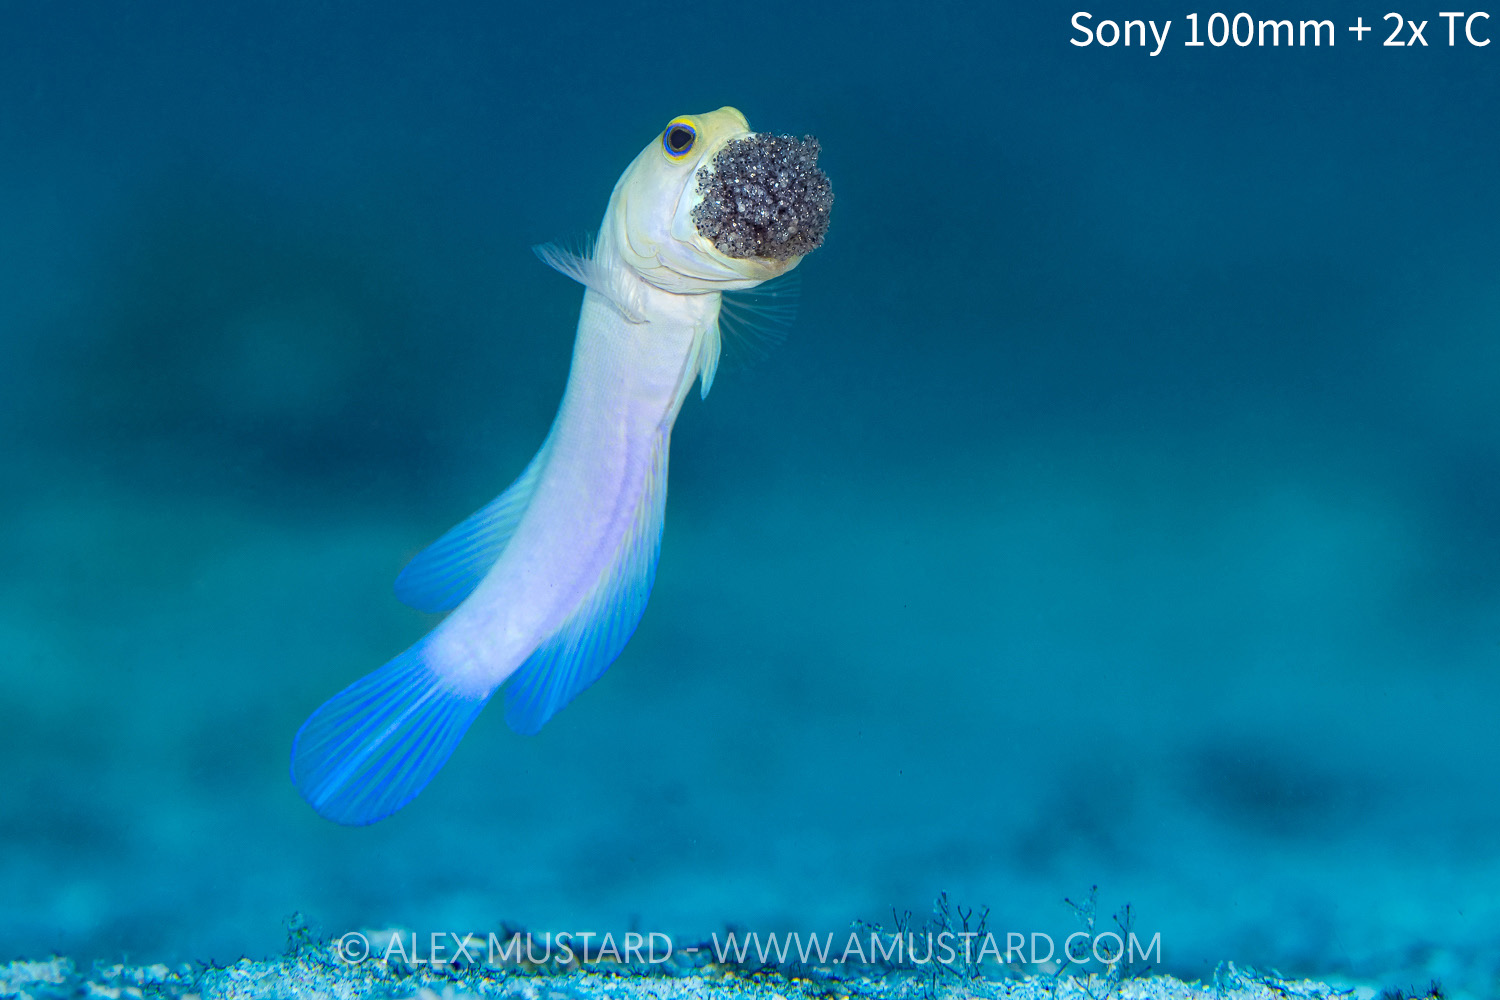
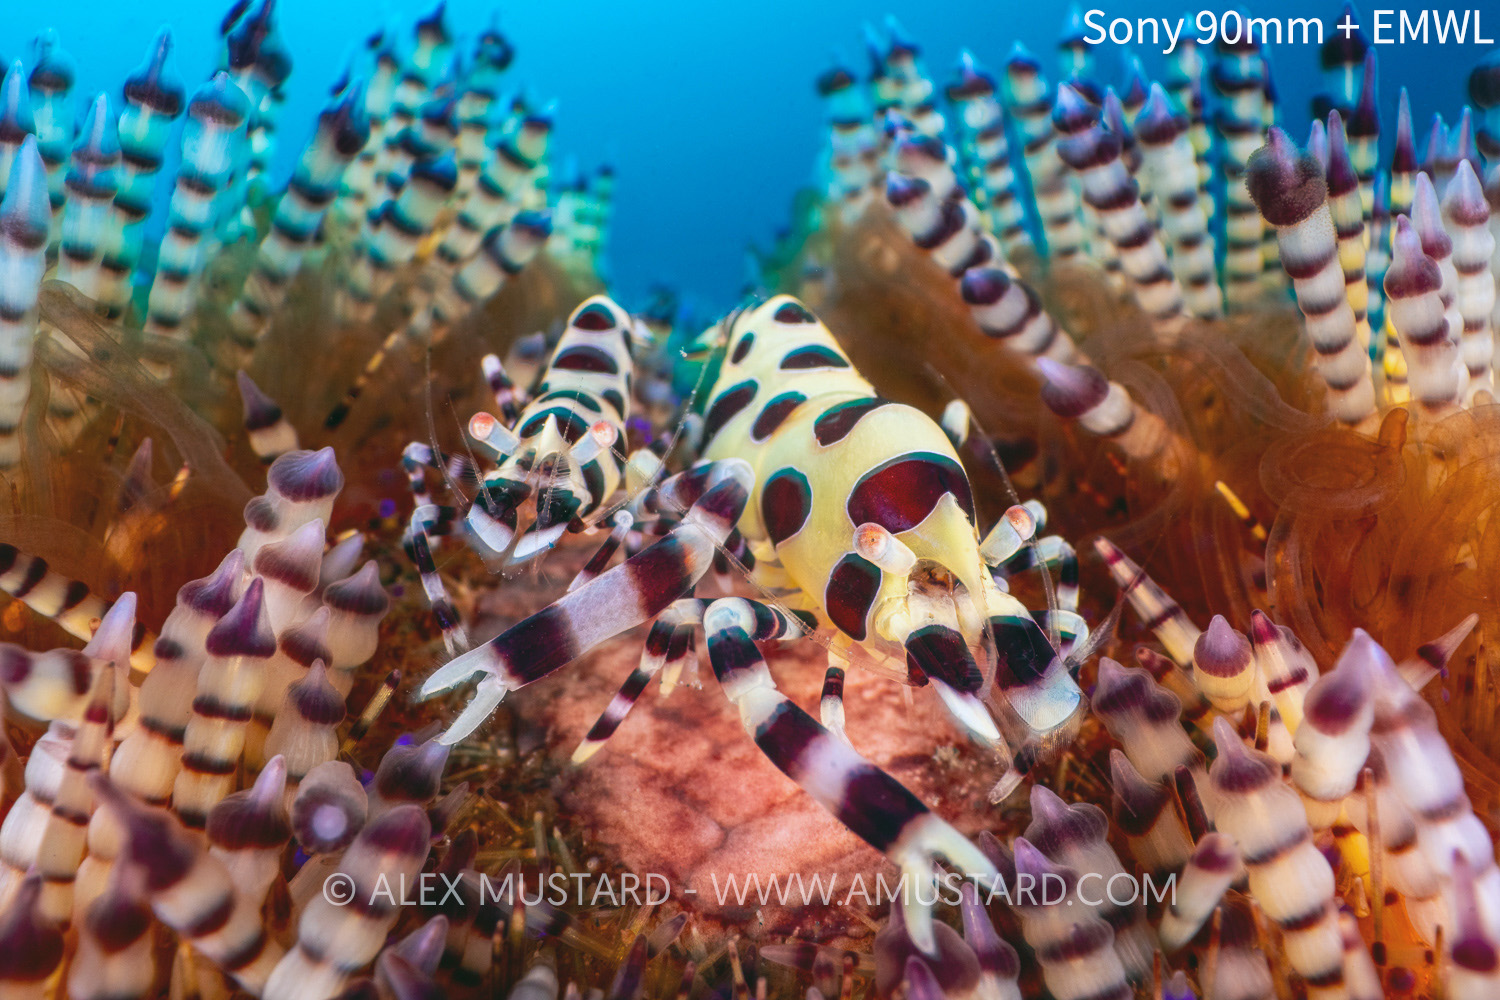
As of 2026, I shoot a wide variety of lenses with my Sony cameras underwater. As a professional photographer I have more options than most people would, and also have redundancy/repetition in my selection. Within each class, below, I list them in the order I use them most frequently. It is beyond the scope of this page to tell you which lenses you should buy. When considering the right lens for you, you must consider the diving you do. None of these lenses come on all my trips. My preferred selection for each shoot changes depending on the intended subjects and diving.
Fisheyes: Nikonos RS 13mm (converted by Isaac Szabo), Sony 28-60mm and Nauticam FCP, Canon 8-15mm on Metabones adapter, Nikon 8-15mm on Monster adapter.
Wide angle to mid range: Sony 28-60mm and Nauticam WACP-1, Sony 28-60mm and Nauticam WWL-1B, Nikonos V 15mm (on Nauticam adapter), Tamron 17-28mm.
Macro: Sony 100mm (also used with Sony 1.4x TC, Sony 2.0x TC, Nauticam MFO-1, MFO-3 and SMC-3, and Nauticam EMWL system), Tamron 90mm, Sony 50mm, Triopan 100mm, Sony 90mm.
See examples of each in the gallery above.
My Menu 1 is easily accessible and a good place to store shortcuts to important options.
Quick changes can mean the difference between getting the shot and missing out.
The options in my Function Menu for photos – you learn what the symbols mean quite quickly.
The reason we choose to customise our cameras away from the default settings is to make them easier to use in our specific branch of photography. Photographers often obsess that if they are not customising everything then they are somehow missing out. Not so. Remember that Sony, who designed and made your camera, put a lot of time thinking about the best place to put things.
Furthermore, for customisation to be beneficial you must build the muscle memory of where everything is through your housing. So don’t change things each time you read a new article, otherwise you will never remember where you left them! Below is how I set up my Sony Menus – which works brilliantly for me.
My Menu & Function Menu
The My Menu in the Menu System and Function Menu accessed via the Fn button are the two easiest places to find important functions on the camera that I change regularly. So I fill both of these with features I need to access most often, to save me navigating through the menus to find them. I put some important features in both – I don’t need to remember exactly what is in here – only that if I want to change something then it is likely here!
Page 1 of My Menu contains:
Auto Review
AF with Shutter
Live View Display Set (Settings Effect On/Off)
Shutter Type (Mechanical/Electronic)
Flash Mode (Front/Rear)
Wireless Flash (For HSS activation)
Creative Look (used to switch to Black and White)
My Function Menu (for still photography) contains:
Subject Recognition in AF (on/off)
Focus Area
Wireless Flash
Subject Recognition Target
Pre-Capture (never really used UW)
Flash Mode
White Balance
Shutter Type
Live View Display Set
ISO
Creative Look
Shooting Mode
I know that there is repetition here. That is because in the real world, when I want to make changes quickly underwater, I want options to be in the first place I look! So I put the important ones in both places!
“for customisation to be beneficial you must build the muscle memory of where everything is through your housing. Don’t move things each time you read new advice”
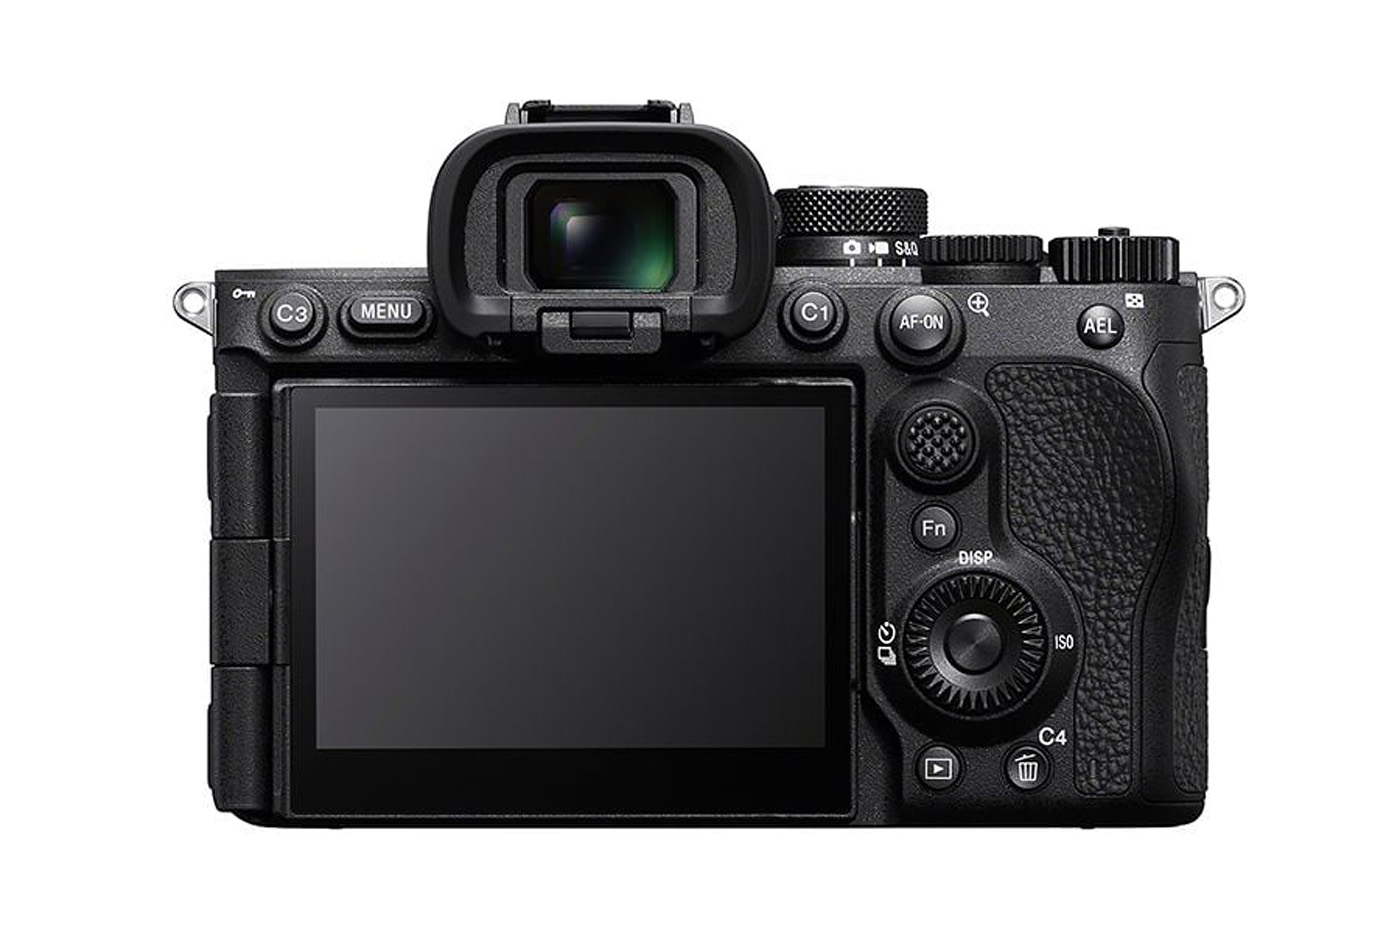
The customisable buttons on a camera provide the fastest (and Menu-Maze free) access to important settings. So by definition these should be settings that you will want to adjust quickly, right in the middle of shooting. We change these in the Custom Key/Dial Set for still photography (the little camera logo at the start of the line shows they are for stills). You can use these to open up Menu options, like in the previous section, but it is more useful to set them to Toggle options, that allow you to just press the one button to switch between options. Some of these buttons are easier to reach through the housing than others, so I put the controls that I most regularly want to change, on the easiest buttons to reach. The important controls are clustered on the right side (I regularly hold my housing with just one hand).
Confusingly, the morons at Sony ergonomics number the buttons C1, C2, C3 etc on the back of the camera, but in the menu to set their function, they list them numbered in different order, for example C3 is option 4! I will refer to the button numbering in the Sony Menus below, rather than the numbers on the button on the back of the camera.
My Photo Custom Key/Dial Settings on the Rear 1 of the camera are:
1. White Balance (this is the button marked AEL – to change WB)
2. AF-On (this is the button marked AF-On – for back button focus accessed by lever on Nauticam housing)
3. Switch Drive Mode (this is button C1 – this allows me to switch from single to multiple shooting – turn off all the bracketing options in the menu, so there is less to scroll through)
4. Finder/Monitor Select (this is button C3 – inside a housing cameras cannot automatically switch between EVF and LCD, so most people set this button to make the change manually, after also setting Select Finder/Monitor in the menu to Monitor Manual)
5. Flash Mode (this is the Delete button)
Notes. Some underwater photographers (especially contest photographers who don’t want to crop) like to have FF/APS-C toggle on the back of the cameras, I don’t like this setting as I find it too easy to leave it on by accident, but button 3 (C1) is a good place for it. Topside nature photographers definitely like having Pre-capture and Speed Boost as options on these buttons, but I don’t see these as being routinely valuable underwater. But if you do extensive topside shooting you may choose to put these on prominent buttons.
I don’t change the Rear 2 set.
My Photo Custom Key/Dial Settings on the Top of the camera are:
1. Subject Recognition Off/On Toggle (this is the record button and is on a easy to reach lever on the Nauticam housing – letting me easily engage and disengage Subject Recognition in the middle of shooting)
2. Switch Focus Area (this is C2 – lets me toggle through focus areas, again reduce the number in the menu to the ones you really use)
3. Illumination On (no use inside a housing, but I like this feature when the camera is not in the housing). I suspect few housings will provide access to this button.
Custom button settings for Rear 1
How it all ends up on the A7R VI housing
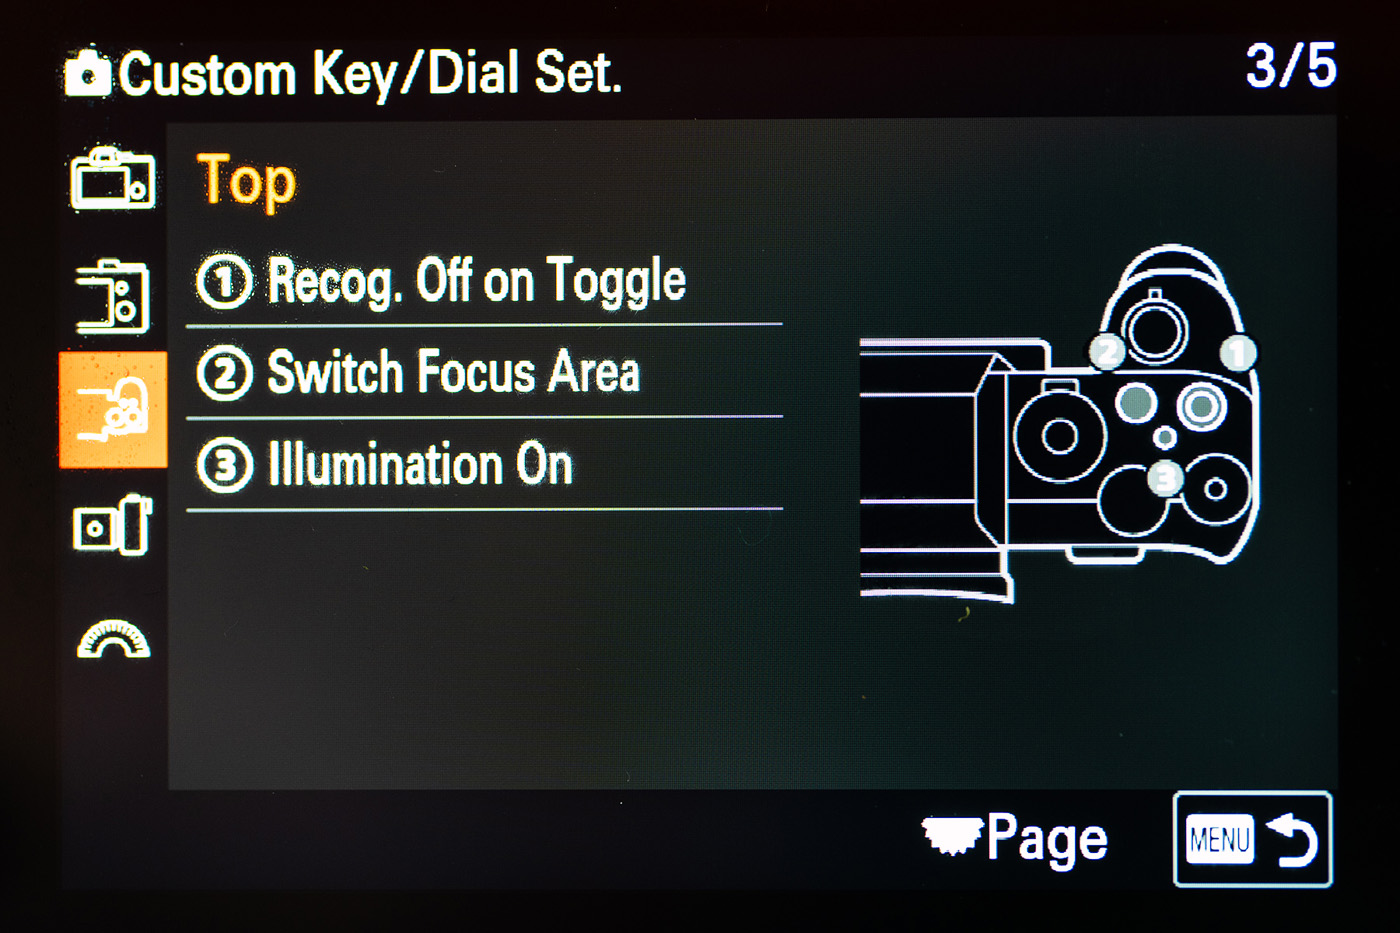
Custom button settings for Top
“Shooting Modes are simply a feature to help you. They don’t give the camera superpowers! So don’t worry if you choose not to use this memory aid.”
Shooting Modes are memory aids, a bookmark to bring up your standard settings as a starting place for different types of shooting.
The Shooting Modes allow you to bring up your preferred settings for different types of underwater photography.
I have the shortcut to changing Shooting Mode stored in the Function Menu

The Sony A7R VI introduces 10 customisable Shooting Modes when the camera Mode Dial is set to *. These are designed so we can easily recall and load our preferred settings for different types of shooting. I see this as mostly something I would change pre-dive, when say changing lens from Wide Angle to Macro. I currently have 8 set. There are some I would switch mid-dive, such as when jumping from shooting a wreck with strobes (WIDEANGLE) and then wanting to available light, black and white shots (B&W). But mostly these are simply about recalling your usually settings when setting out to do a particular type of underwater photography.
Importantly, you don’t need to set these up when you first get the camera. Instead, think of them as bookmarks. Go and shoot with the camera and when you have done a few wide angle dives and have everything dialled in, then save this as a Shooting Mode for Wide Angle. Once you have these you can either keep them static, a starting point you are familiar with, or you could use them on a trip to resave your latest settings at the end of say a macro dive, so you can pull them straight back up when you next come back to shooting macro.
The Shooting Modes are simply a feature to help you. They don’t give the camera superpowers! So don’t worry if you choose not to use this memory aid. You can ignore this whole section of the page, and just follow the Menu and Button Customisation above.
There are also 2 additional customisable modes 1 & 2 on the Mode dial. I choose not to use these as I prefer them all being named and in one place. Also I never like moving the Mode dial in a housing – because I can’t see exactly how it is lined up. But I could imagine normal people (without my phobia) using 1 and 2 for Wide and Macro and then using the * Mode options for the more specific variations.
Just as a reminder, ti access the shooting modes you need the cameras in the * mode on the Mode dial. And then you can navigate the modes through the Menu, or using the shortcut already set on the Function Menu (see above).
My Shooting Modes
MR1 (WIDEANGLE)
MR2(MACRO)
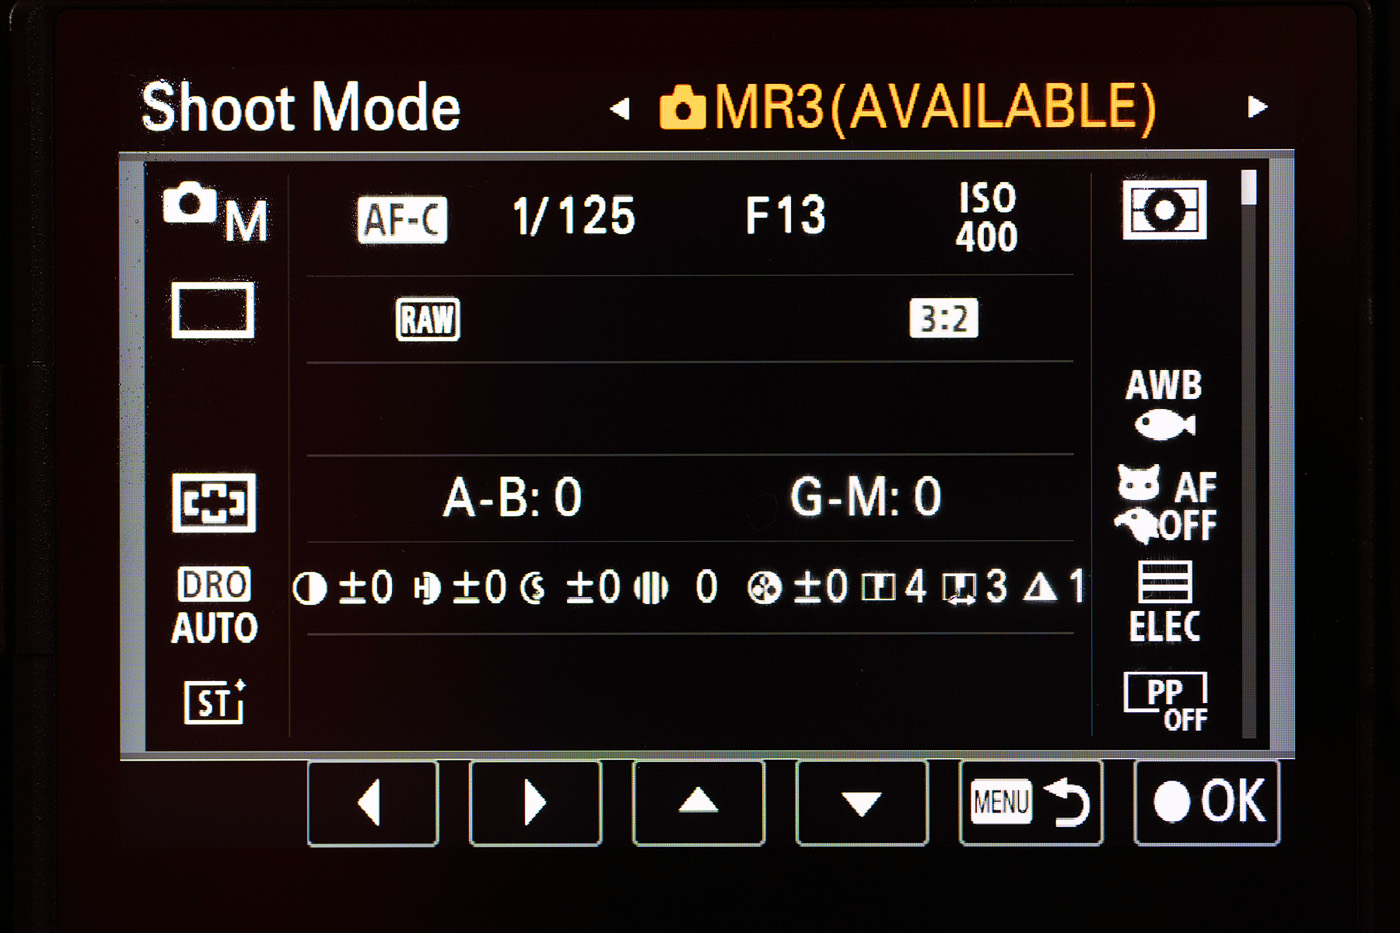
MR3(AVAILABLE)
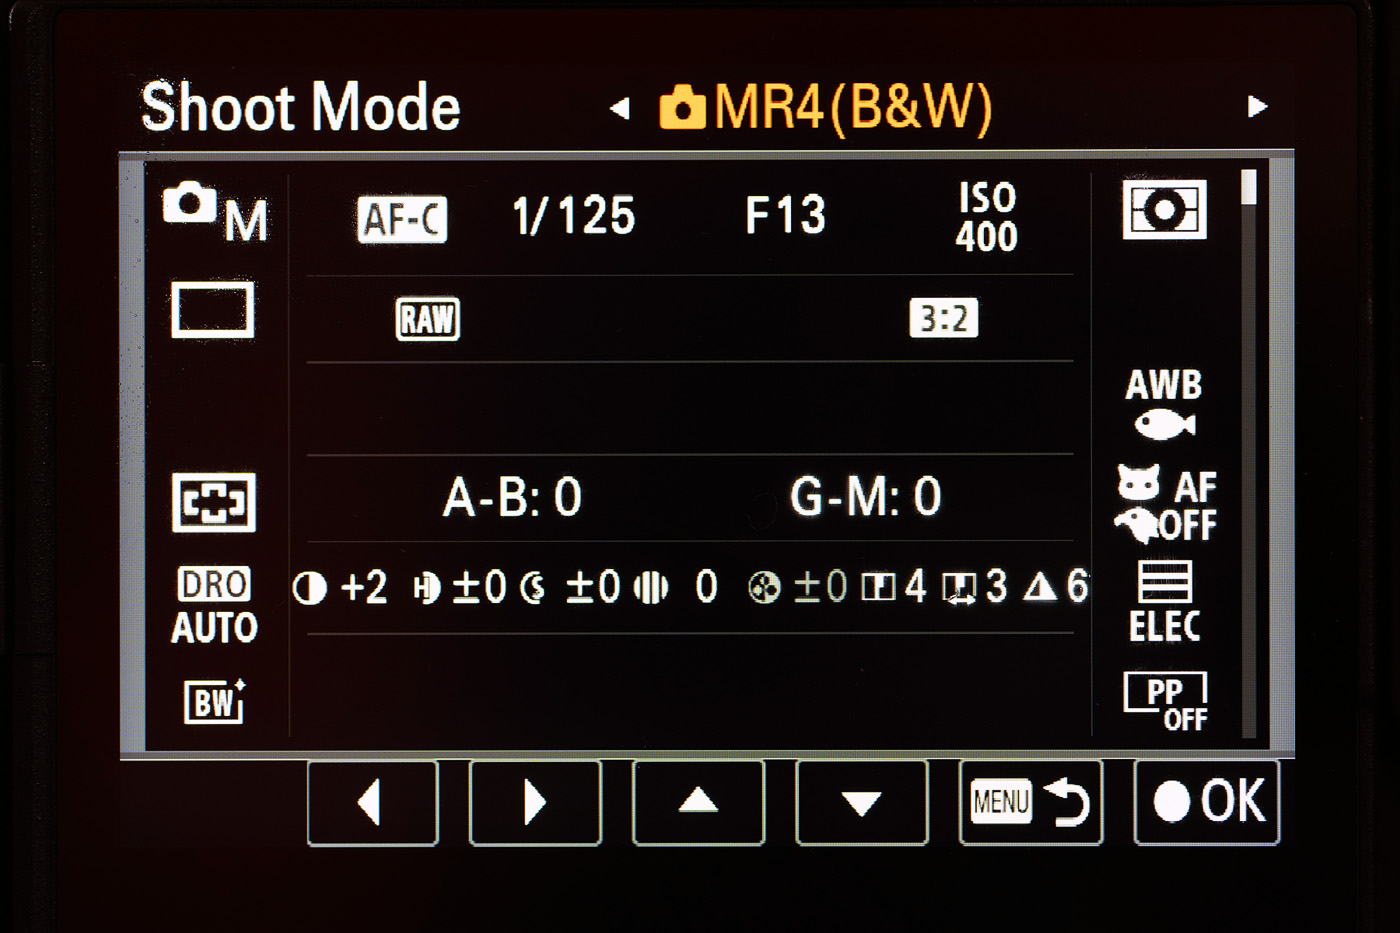
MR4(B&W)
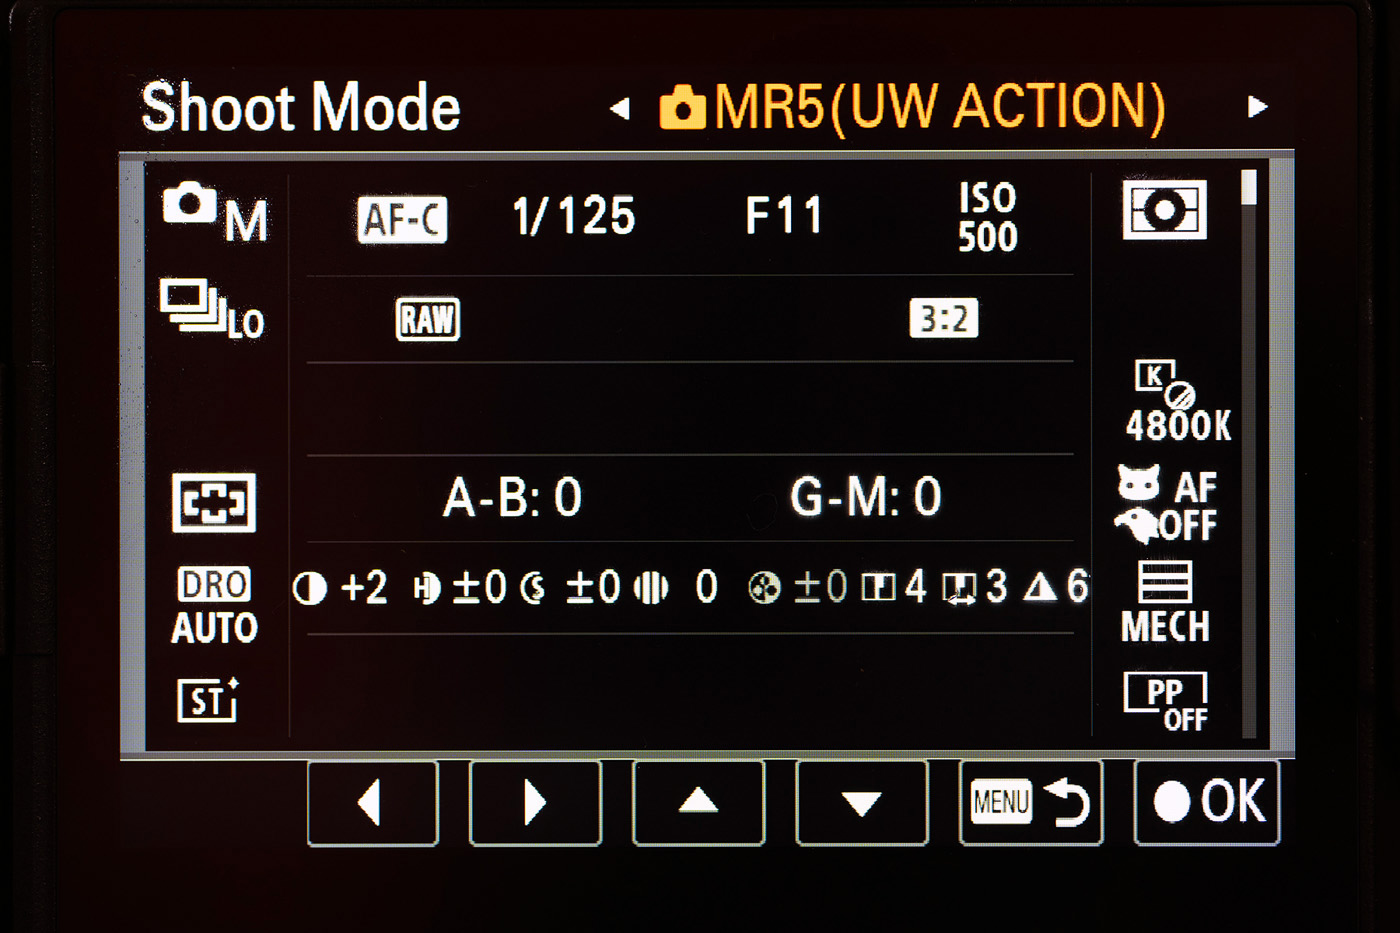
MR5 (UW ACTION)
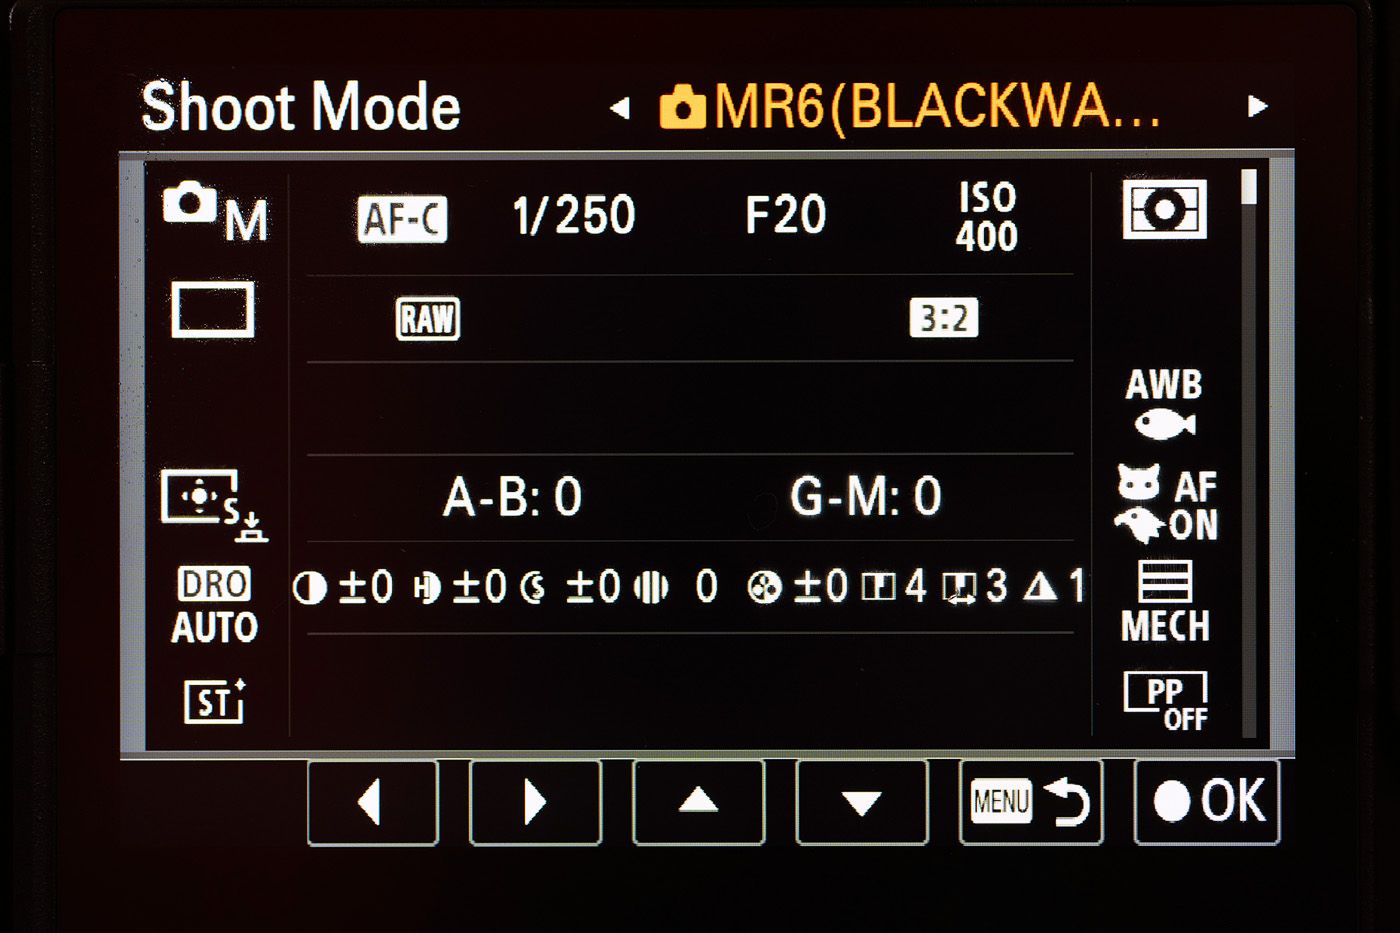
MR6 (BLACKWATR)
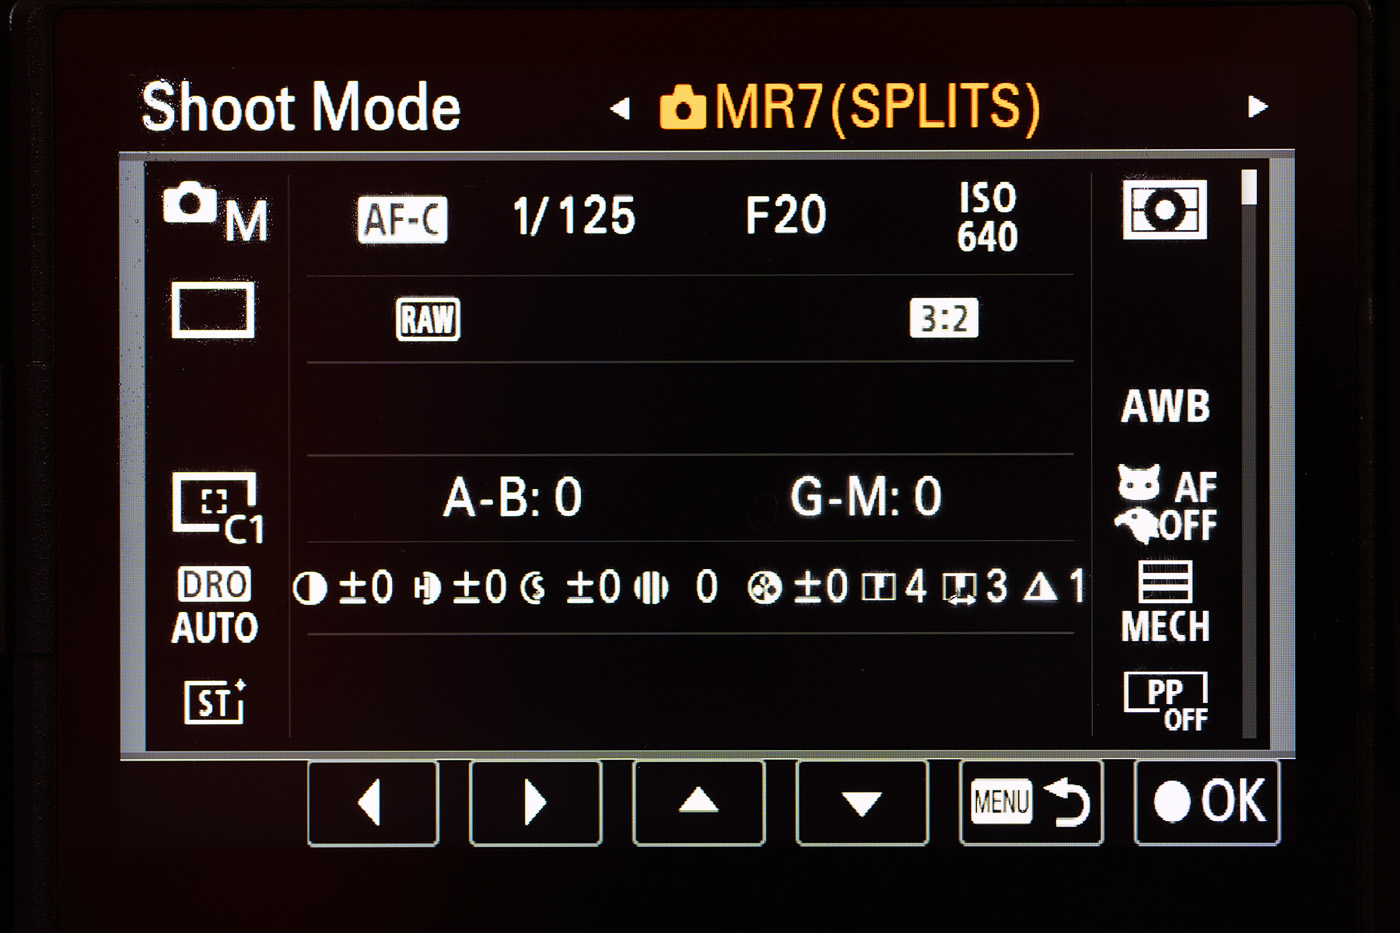
MR7 (SPLITS)
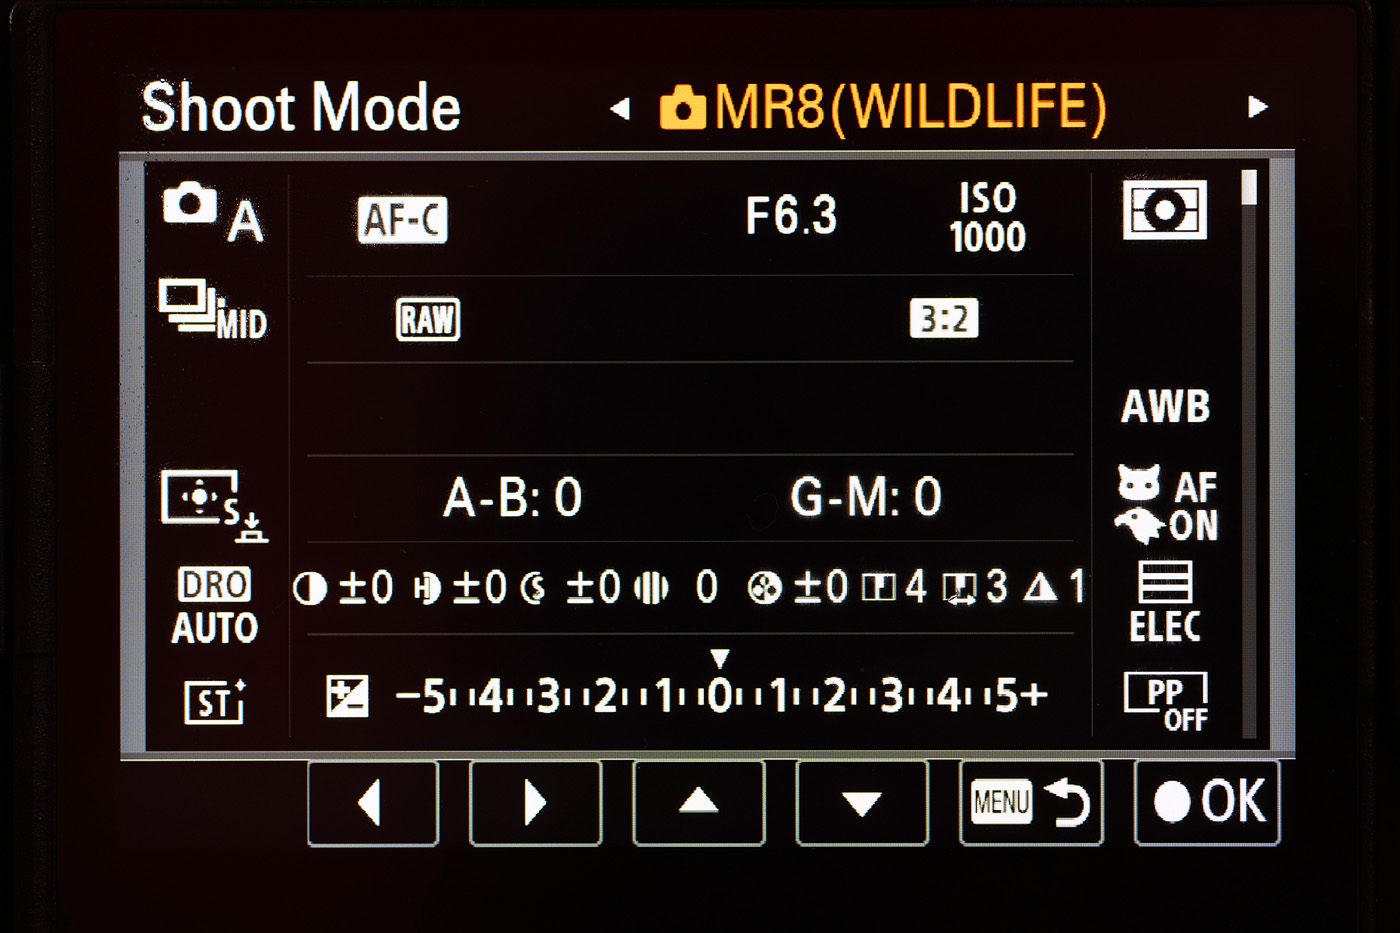
MR8 (WILDLIFE)
I am thinking of adding EMWL and Vintage Lens one, but it did not seem a good idea to fill all 10 up straight away. I decided against setting a green water/dark water wide angle options (with higher ISO and lower shutterspeeds), but you might wish to. Exposure setting in blue water, normal diving depths on a sunny day are very consistent and having jump settings make sense. Darker conditions (green water, deep water, murky water, overhead environments) deviate from this by variable amounts, and jump settings are less valuable. My expectation when diving in darker conditions is simply to load my WIDEANGLE Shooting Mode and then adjust my exposure settings manually before the dive.
“think of the shooting modes as bookmarks – a quick way back to where you were last time you shot that type of image”
MR1 (WIDEANGLE)
This mode is a Manual mode for wide angle photography with flash. Jump settings of 1/125th @ f/13, ISO 400. AF Wide Area, AF with Shutter On, Subject Recognition Off, Mechanical Shutter, WB 4800K, Single Shot drive mode, Settings Effect Off, Auto Review On.
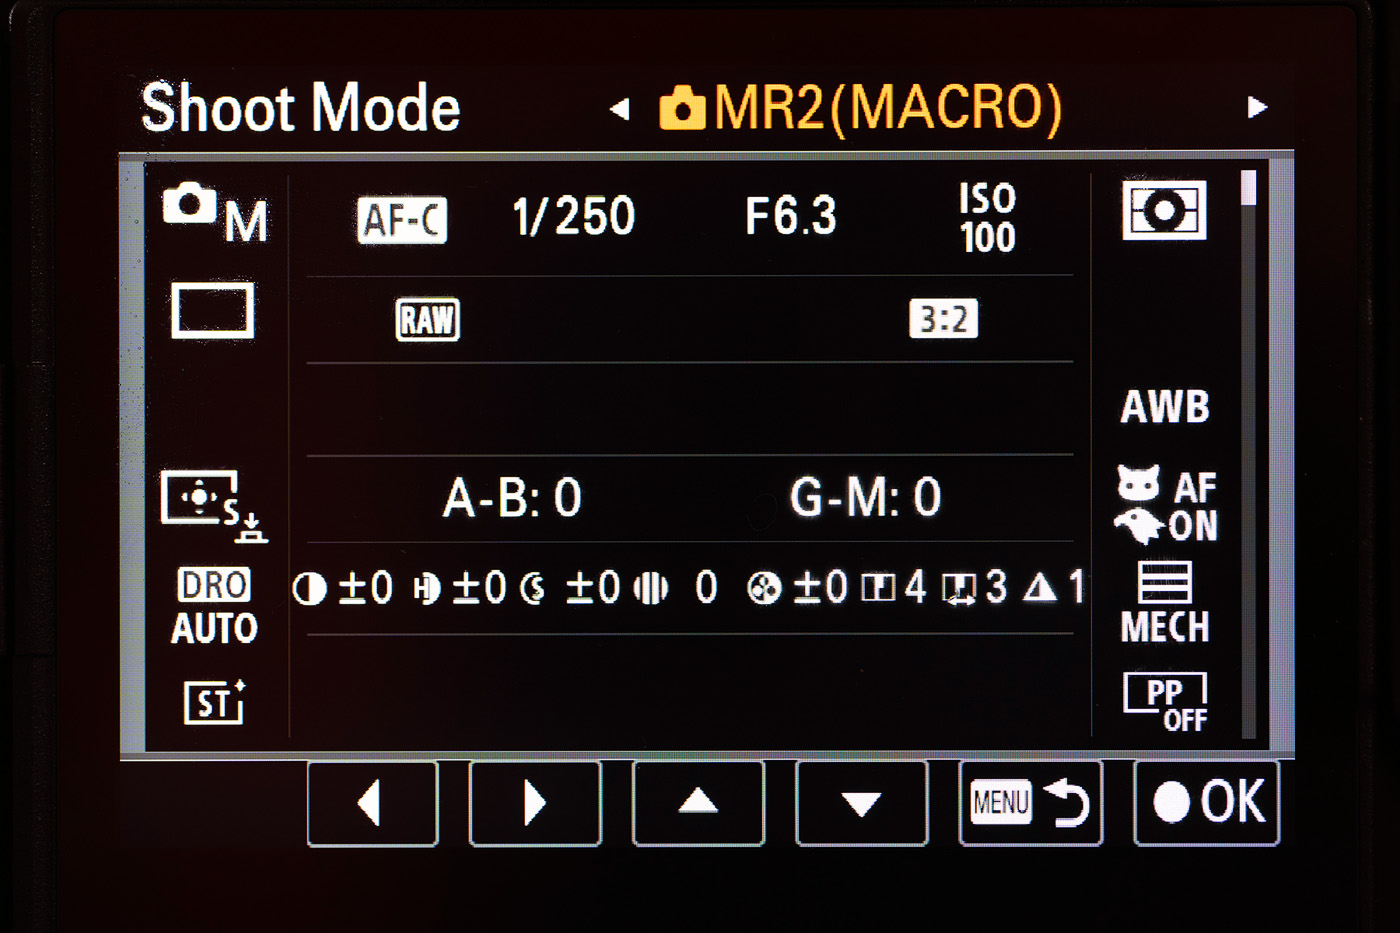
MR2(MACRO)
This mode is a Manual mode for macro photography with flash. Jump settings of 1/250th @ f/6.3, ISO 100. AF Tracking Small Spot, AF with Shutter On, Subject Recognition On (Animal/Bird), Mechanical Shutter, WB Auto, Single Shot drive mode, Settings Effect Off, Auto Review On.
MR3(AVAILABLE)
This mode is a Manual mode for wide angle photography without flash. Jump settings of 1/125th @ f/13, ISO 400. AF Wide Area, AF with Shutter On, Subject Recognition Off, Electronic Shutter, WB UW Auto, Single Shot drive mode, Settings Effect On, Auto Review Off.
MR4(B&W)
This mode is a Manual mode for wide angle photography without flash in black and white. Jump settings of 1/125th @ f/13, ISO 400. AF Wide Area, AF with Shutter On, Subject Recognition Off, Electronic Shutter, WB UW Auto, Single Shot drive mode, Settings Effect On, Auto Review Off. Creative Look Black & White (viewfinder now black and white).
MR5 (UW ACTION)
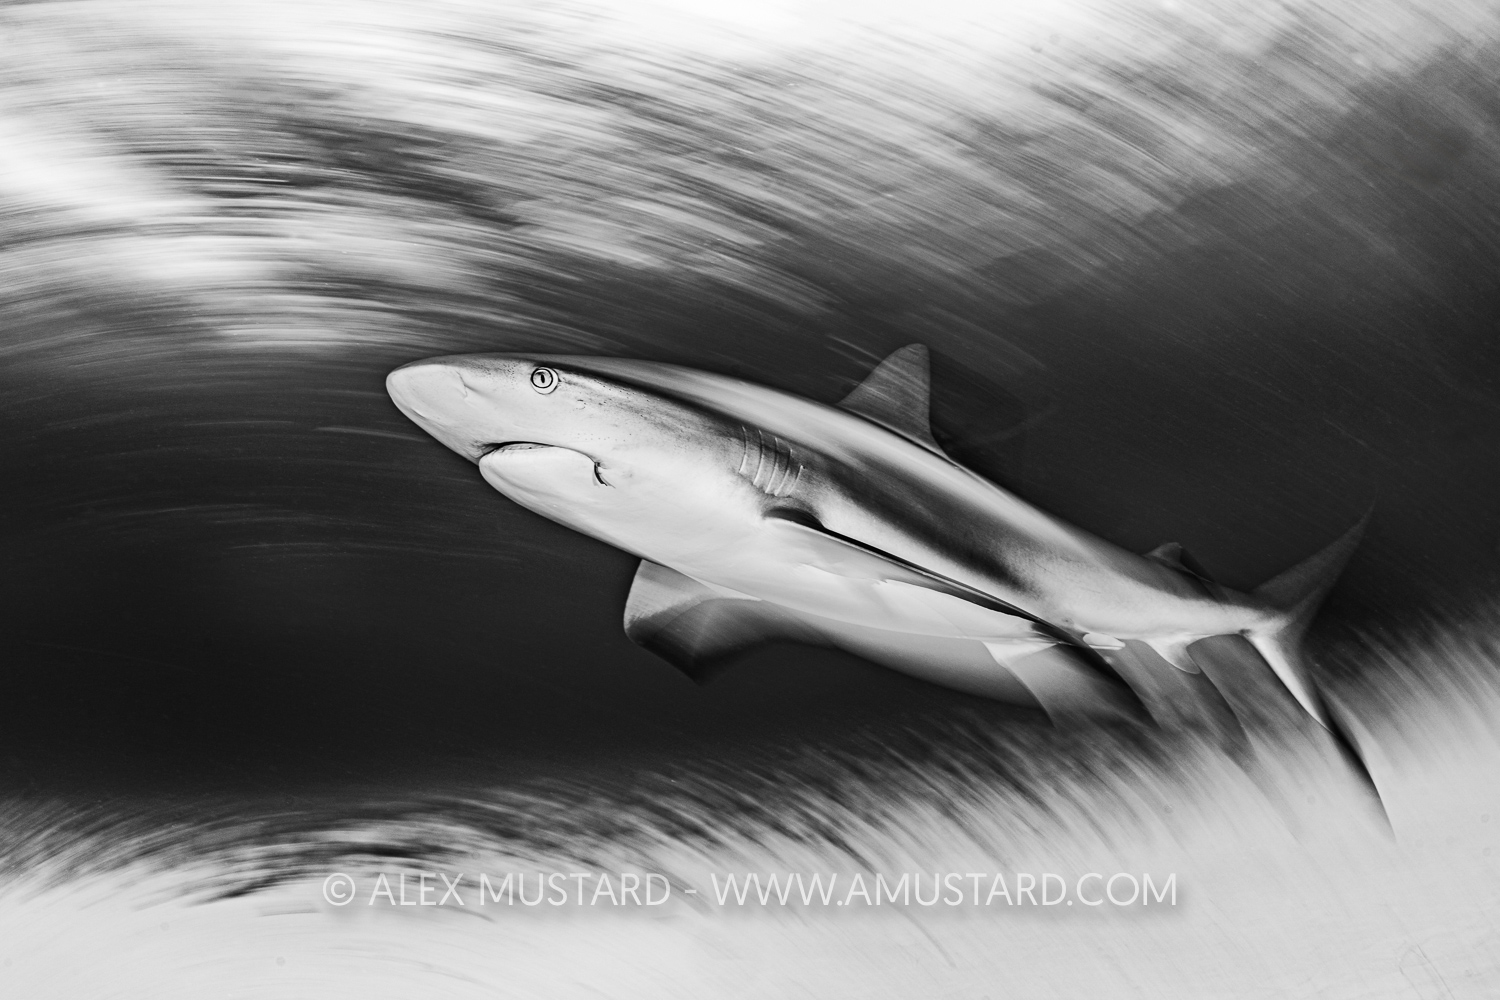
This mode is a Manual mode for wide angle action photography with or without flash (such as a shark dive). Jump settings of 1/125th @ f/11, ISO 500. AF Wide Area, AF with Shutter Off, Subject Recognition Off, Mechanical Shutter, WB 4800K, Multiple Shot Low drive mode, Settings Effect Off, Auto Review Off.
MR6 (BLACKWATR)
This mode is a Manual mode for blackwater macro photography with flash. Jump settings of 1/250th @ f/20, ISO 400. AF Tracking Expand Spot, AF with Shutter On, Subject Recognition On, Mechanical Shutter, WB UW Auto, Multiple Shot Low drive mode, Settings Effect Off, Auto Review Off.
MR7 (SPLITS)
This mode is a Manual mode for split level photography with or without flash. Jump settings of 1/125th @ f/20, ISO 640. AF Custom 1, AF with Shutter Off, Subject Recognition Off, Mechanical Shutter, WB Auto, Single Shot drive mode, Settings Effect Off, Auto Review On.
MR8 (WILDLIFE)
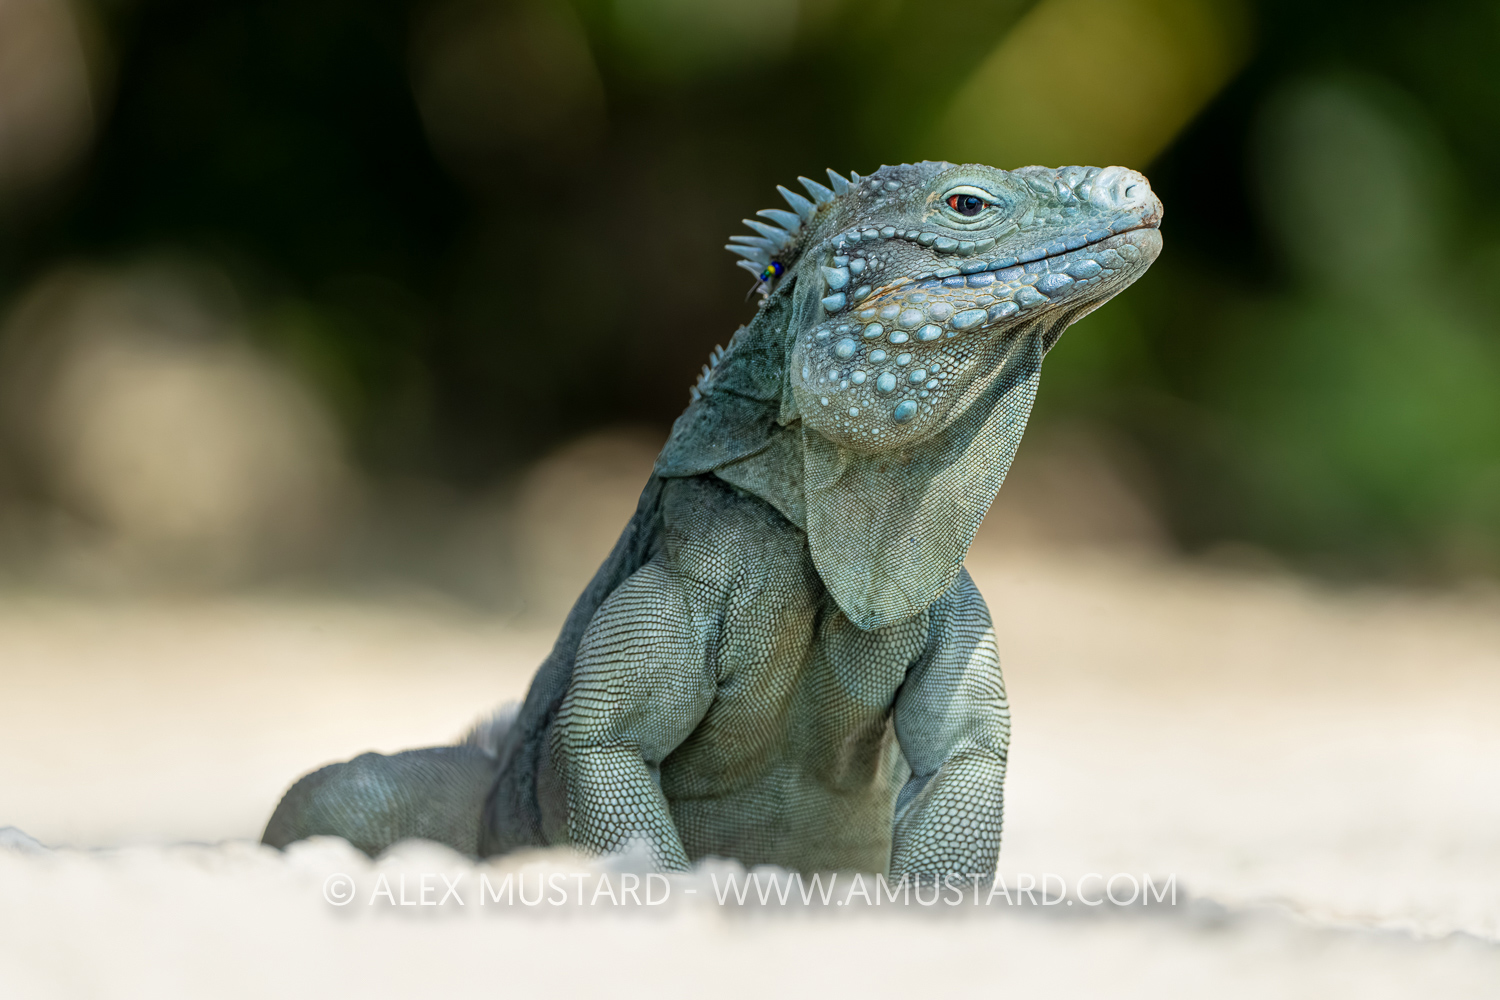
This mode is an Aperture Priority auto mode for topside photography, typically wildlife with my Sony 200-600mm lens. Jump settings of f/6.3, ISO 1000. AF Tracking Small Spot, AF with Shutter On, Subject Recognition On, Electronic Shutter, WB Auto, Multiple Shot Medium drive mode, Settings Effect On, Auto Review Off.
Modern mirrorless cameras have a plethora of options that allow us to optimise them for specific types of photography. The camera setup presented here is about making things easier, helping us remember those settings and not have to navigate through Sony’s menu maze when in front of a subject trying to nail the shot! But also remember that photography is about light, composition and communication and the main reason I customise my camera is to make it easier to focus on these.
Alex Mustard. June 2026.
As requested, this camera settings set for the A7R VI is also available to download and install from this link to Wetransfer (the file MUSTARD6.DAT is very small 0.5 MB). To install these settings add them to a memory card within folders SONY>SETTING>7RM6>CAMSET and the install from Setup>Reset/Save Settings etc. This will also add my name as the photographer to your camera! So change this to your name after installing on your camera under Shooting>File>Copyright Info>Set Photographer.


